

Making candy at home can be a fun and rewarding experience. One of the key ingredients in candy making is chocolate. But with so many different types and brands of chocolate available, how do you know which one is the best chocolate for candy making needs? In this article, we will explore the different types of chocolate, factors to consider when choosing chocolate, top-rated chocolate brands, tips for melting and tempering chocolate, and proper storage of your homemade chocolate candies.
Understanding the Different Types of Chocolate
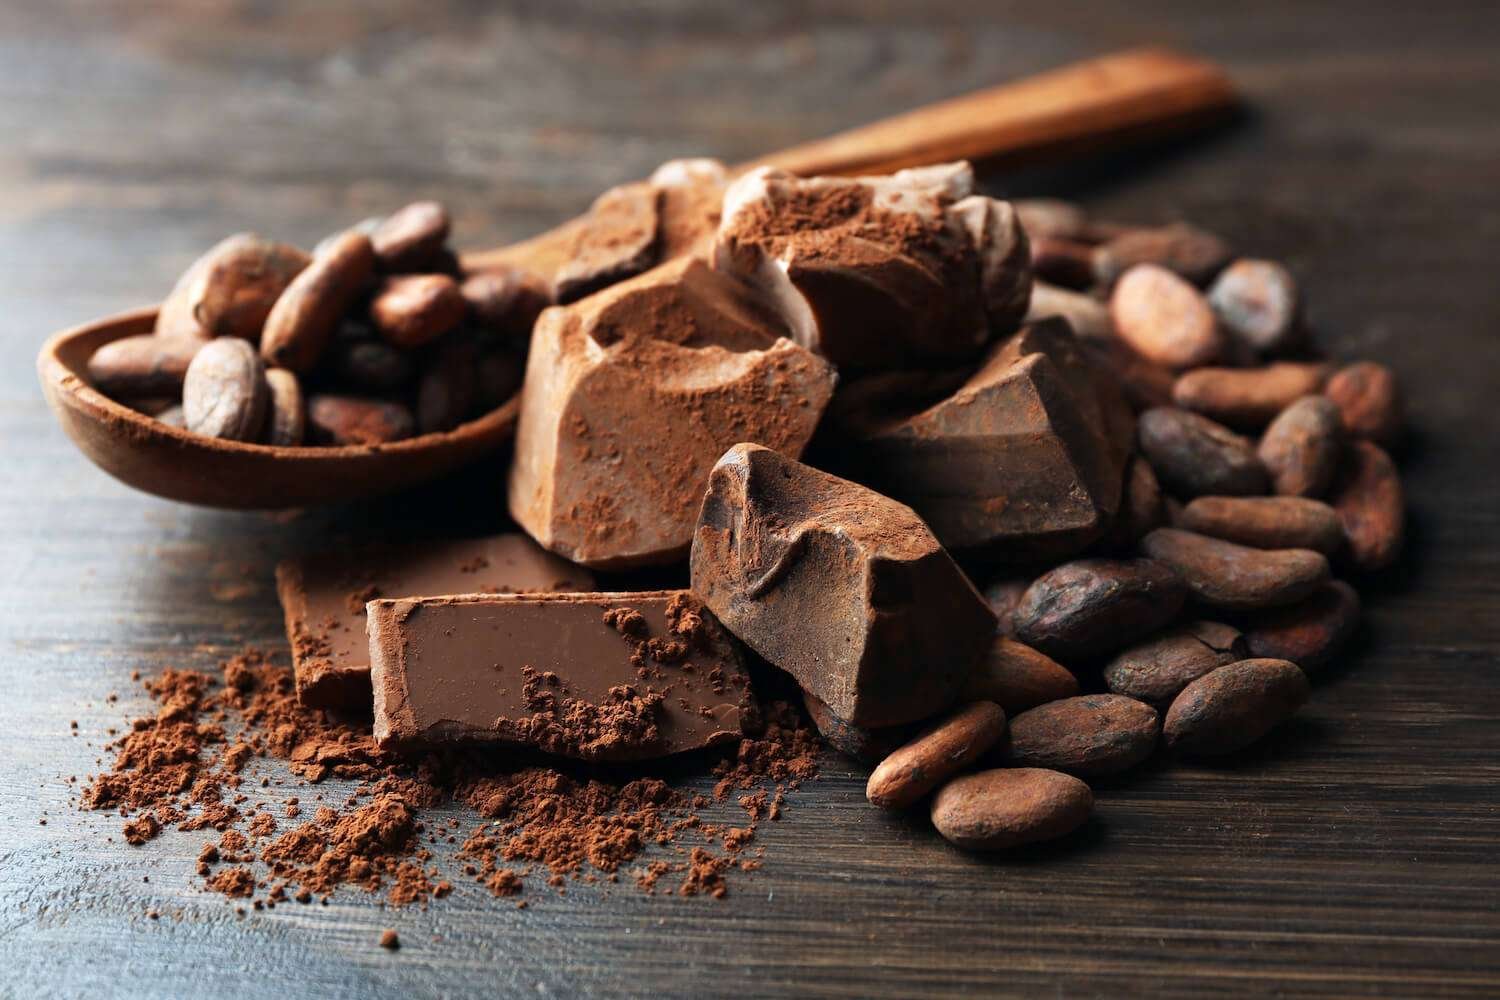
The Role of Cocoa in Chocolate Quality
When it comes to chocolate, cocoa is the star ingredient. Cocoa beans are harvested, fermented, and roasted to bring out their rich flavours. The percentage of cocoa in a chocolate bar determines its intensity and depth of flavour. Higher cocoa percentages generally result in a more intense and less sweet chocolate.
Cocoa butter, the fat extracted from cocoa beans, gives chocolate its smooth and creamy texture. It also plays a crucial role in tempering chocolate.
Additionally, the origin of cocoa beans can greatly impact the flavour profile of the chocolate. Different regions around the world produce cocoa beans with distinct flavour notes, influenced by factors such as soil composition, climate, and processing methods. For example, beans from Madagascar are known for their fruity and acidic undertones, while beans from Ecuador often have floral and nutty flavours.
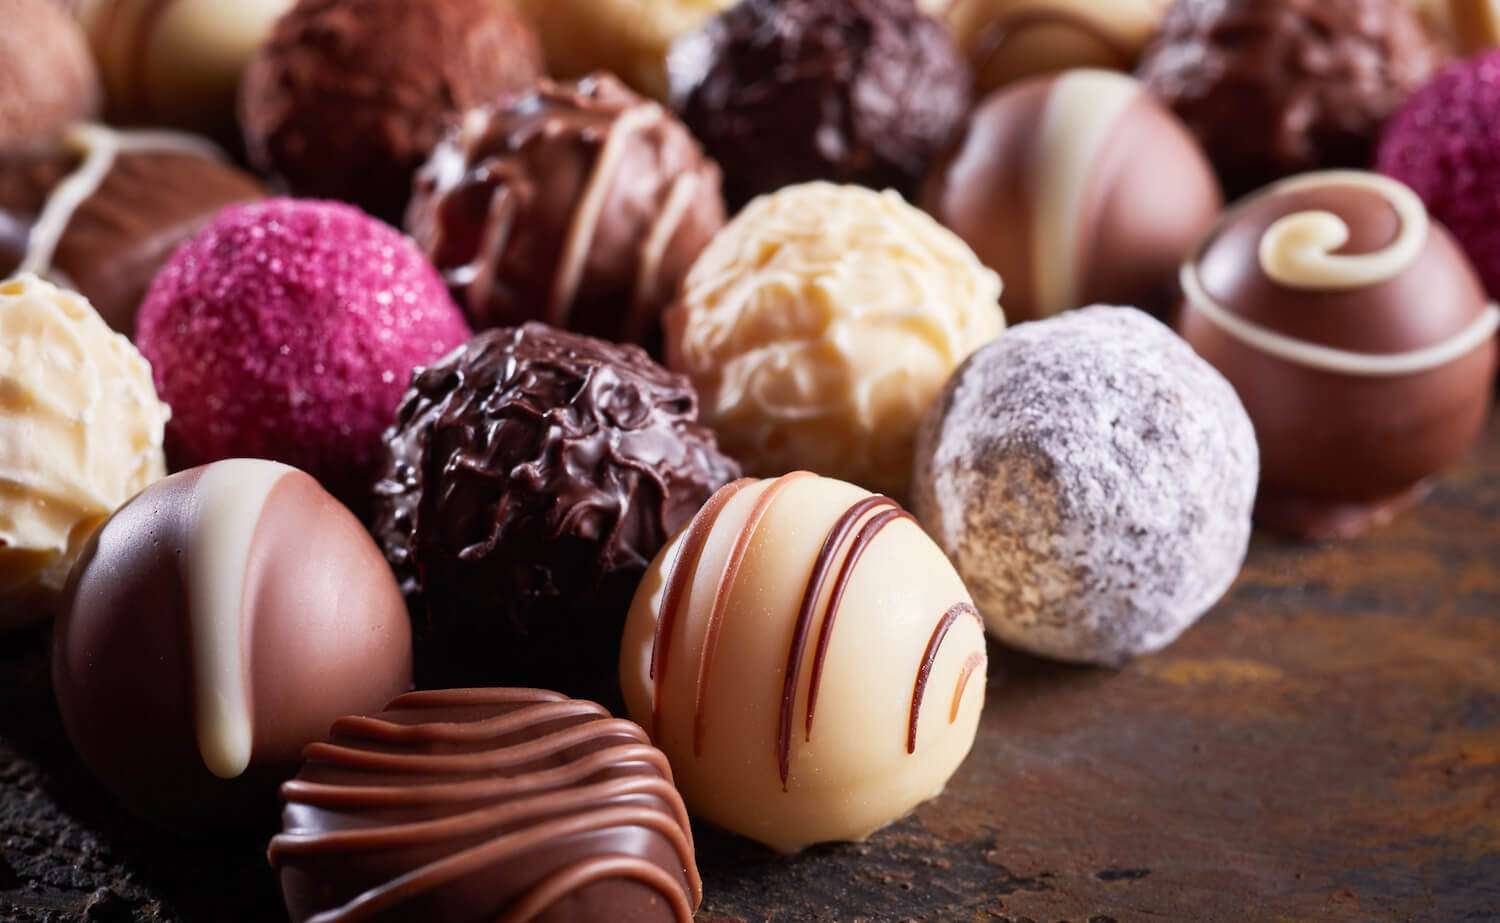
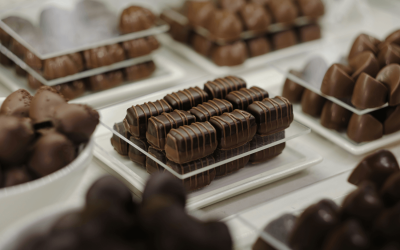
White, Milk, and Dark Chocolate: What’s the best chocolate for candy making?
White chocolate, often mistaken for “real” chocolate, does not contain cocoa solids. Instead, it is made from cocoa butter, sugar, and milk solids. White chocolate has a creamy and sweet taste that pairs well with various candies. And it is easy to colour when making decorations for cakes, biscuits, etc.
Milk chocolate contains cocoa solids, cocoa butter, sugar, and milk powder or condensed milk. It has a milder flavour compared to dark chocolate and is a popular choice for candy making.
Dark chocolate has a higher percentage of cocoa solids and less sugar compared to milk chocolate. It offers a more robust and intense flavour, making it ideal for pairing with bold ingredients like nuts or spices. The bitterness of dark chocolate can balance out the sweetness of candies.
Furthermore, the process of conching, a technique that involves grinding and kneading chocolate to develop its texture and flavour, plays a significant role in determining the smoothness and mouthfeel of chocolate. Longer conching times can result in silkier chocolate with more refined flavours, while shorter conching times may yield a coarser texture with bolder flavour notes.
Factors to Consider When Choosing Chocolate for Candy Making
Flavour Profile and Sweetness Level
The flavour profile and sweetness level of chocolate can have a significant impact on the final taste of your candies. Consider the flavour notes of the chocolate, such as fruity, nutty, or floral, to complement or enhance the other ingredients in your candies. Additionally, choose a chocolate that aligns with your desired sweetness level, considering the other sweet components of your recipe.
When selecting chocolate for your candy making endeavours, it’s important to remember that the percentage of cocoa in the chocolate also plays a role in its flavour profile. Higher cocoa percentages tend to result in a more intense chocolate flavour with less sweetness, while lower percentages offer a milder taste. Understanding the balance between cocoa content and sweetness can help you achieve the perfect flavour for your candies.
Melting Point and Consistency
The melting point and consistency of chocolate are crucial for successful candy making. Different chocolates have different melting points, and choosing the right one for your recipe is essential. Dark chocolate tends to have a higher melting point compared to milk or white chocolate, which can affect the texture and stability of your candies. Experimenting with different brands and types of chocolate can help you find the perfect consistency for your candies.
Another factor to consider when it comes to chocolate consistency is tempering. Tempering chocolate involves a precise heating and cooling process that ensures the chocolate sets properly, giving your candies a glossy finish and a satisfying snap. Properly tempered chocolate will also have a longer shelf life and a smoother texture, elevating the overall quality of your homemade candies.
Price and Availability
Price and availability are practical factors to consider when choosing chocolate for candy making. Premium brands and specialty chocolates may offer unique flavours and textures but come at a higher cost. On the other hand, more affordable chocolate brands can still produce delicious candies without breaking the bank. Consider your budget and the availability of different chocolate options in your area.
Keep in mind that the origin of the chocolate can also impact its price and availability. Single-origin chocolates, sourced from specific regions known for their quality cacao beans, may offer distinct flavour profiles that add depth to your candies. Exploring different origins and their flavour characteristics can open up a world of possibilities for your candy creations.
Top-Rated Chocolate Brands for Candy Making
Premium Chocolate Brands
For those seeking the finest quality chocolate, premium brands like Valrhona, Callebaut, and Guittard are highly regarded. These brands use high-quality cocoa beans and have a wide range of chocolate options with varying percentages of cocoa. Their chocolates offer complex flavour profiles and excellent consistency, ideal for professional candy making or special occasions.
Valrhona, a French chocolate manufacturer, is known for its rich and intense flavours that come from meticulously sourced cocoa beans. Callebaut, a Belgian chocolate brand, is favoured by pastry chefs worldwide for its smooth texture and versatility in various dessert applications. Guittard, an American chocolate maker with a long history dating back to the 19th century, is celebrated for its sustainable sourcing practices and commitment to quality.
Budget-Friendly Options
If you’re on a budget, there are still plenty of affordable chocolate brands that deliver great results. Ghirardelli, Baker’s, and Lindt are popular choices for home candy makers. These brands provide consistent quality and a range of cocoa percentages to suit different recipes.
Ghirardelli, a well-known American chocolate company, offers a range of chocolate products suitable for both baking and snacking. Baker’s, a trusted brand established in 1780, provides quality chocolate at an affordable price point, making it a favourite among home bakers. Lindt, a Swiss chocolatier with a legacy of over 175 years, is recognised for its smooth and creamy chocolate that adds a touch of luxury to homemade candies.
Tips for Melting and Tempering Chocolate
The Importance of Proper Tempering
Tempering chocolate is a technique used to stabilise its crystal structure, resulting in smooth, glossy, and snappy candies. Properly tempered chocolate will have a professional finish and a satisfying texture.
When chocolate is tempered correctly, it not only looks good but also has a pleasing snap when you bite into it. The process of tempering involves carefully melting and cooling the chocolate while agitating it to ensure that the cocoa butter molecules are properly aligned. This alignment is what gives tempered chocolate its desirable characteristics.
One of the most widely used methods for tempering chocolate is the seeding method. To do this, melt around 75% of your chocolate and then add finely chopped unmelted chocolate to “seed” the melted chocolate. Stir until the “seeds” are completely melted, and the chocolate reaches the desired temperature range for tempering.
It is essential to follow temperature guidelines and proper stirring techniques when tempering chocolate, as any deviations can affect the final result.
Common Mistakes to Avoid
- Avoid introducing moisture into melted chocolate, as it can cause the chocolate to seize and become lumpy. Use completely dry utensils and bowls when working with chocolate.
- Avoid overheating the chocolate, as it can result in burned or grainy chocolate. Use low heat and stirring intervals when melting chocolate.
- Avoid sudden temperature changes, as they can cause chocolate to lose its temper or become dull in appearance. Gradual temperature changes are key.
- Lastly, avoid rushing the tempering process. Take your time and follow the necessary steps for best results.
Another common mistake to avoid when tempering chocolate is using chocolate that contains any moisture. Even a small amount of water can cause the chocolate to seize, turning it into a grainy mess that is impossible to work with. To prevent this, make sure all your utensils are completely dry before coming into contact with the chocolate.
Furthermore, it’s important to note that different types of chocolate have different tempering requirements. Dark, milk, and white chocolate all have their own specific tempering temperatures and methods. Understanding these differences and adjusting your tempering process accordingly will help you achieve the perfect finish every time.
Storing Your Chocolate Candies
Ideal Storage Conditions
Once you have created your delicious chocolate candies, it is essential to store them properly to maintain their quality. Store your chocolates in a cool, dry place away from direct sunlight and strong odours. Exposure to heat or humidity can cause the chocolates to melt or develop a white powdery coating known as “bloom.”
Shelf Life of Homemade Chocolate Candies
The shelf life of your homemade chocolate candies will depend on various factors, including the ingredients used and the storage conditions. Generally, properly stored chocolates can last for several weeks to a few months. However, for the best flavour and texture, it is recommended to consume them within a month of making.
Choosing the best chocolate for candy making involves considering factors such as flavour profile, sweetness level, melting point, and price. Experimenting with different chocolates and brands can help you discover your personal favourites. Properly tempering the chocolate is crucial for professional-looking candies, and storing them correctly ensures their longevity. With the right chocolate and techniques, your homemade candies will be a delightful treat for yourself and others to enjoy.
For creative ways to use it in cake decorating, be sure to check out our guide here. Transform your cakes into stunning masterpieces with these expert tips!

About the Author
Kaylene Grieve, a passionate baker and culinary educator, carries on a rich family legacy in the world of pastries and confections that began with her grandfather’s successful bakery. With over two decades of experience in business and marketing, Kaylene combines her baking heritage with digital expertise as the founder of Bake Batter & Beyond. This comprehensive baking resource reflects her mission to make the joy and science of baking accessible to all.
Dedicated to empowering both novice and experienced bakers, Kaylene’s website offers practical knowledge and tools including measurement converters, substitution guides, troubleshooting tips, and baking rescue techniques. Her special focus on the intricate world of cake making, coupled with her unique blend of family tradition and modern savvy, has established Kaylene as a trusted voice in the baking community.
0 Comments