

Did you know that a high-quality stand mixer can reduce your baking prep time by up to 50%? That’s right – these kitchen powerhouses aren’t just pretty countertop accessories! In this guide, we’ll dive into the world of stand mixers for baking, exploring everything from their game-changing features to expert tips for getting the most out of your new culinary companion. Read more about how to pick the best cake decorating tools to make your baking life easier.
Why Every Baker Needs a Stand Mixer
I used to be one of those stubborn bakers who thought I could do it all by hand. Boy, was I wrong!
I remember the first time I used one of the top stand mixers for baking to make my grandma’s famous chocolate chip cookies. Usually, I’d be there for ages, working up a sweat as I creamed the butter and sugar by hand. But with my stand mixer? Bam! Done in minutes. And let me tell you, the consistency was spot-on every single time. No more unevenly mixed dough or surprise pockets of flour in my cookies!
The Versatility of Stand Mixers for Baking
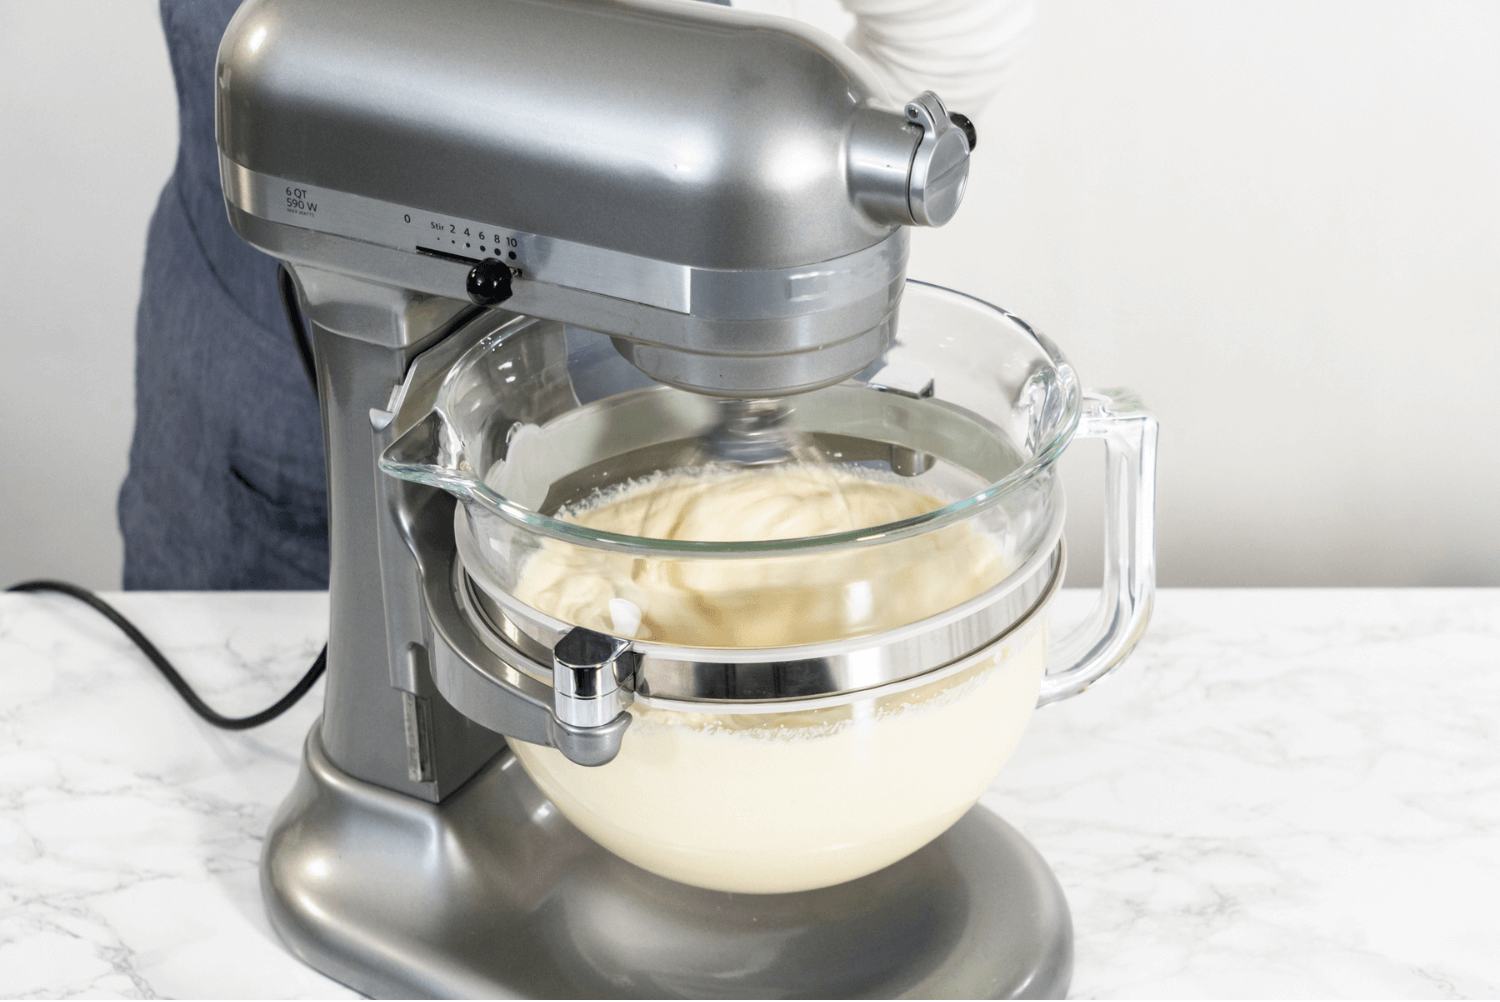
Stand mixers for baking aren’t just one-trick ponies. They’re incredibly versatile, and I’ve used mine for everything from whipping up meringues (without getting a cramp in my arm) to kneading bread dough. With the dough hook attachment, it takes on the hard work, leaving me free to focus on other tasks. It’s like having a personal baking assistant!
Time-Saving Benefits Compared to Hand Mixing
One of the biggest game-changers has been the time-saving aspect of using stand mixers for baking. I used to spend hours in the kitchen prepping for bake sales or holiday gatherings. Now, I can whip up multiple batches of different recipes in no time. It’s honestly revolutionized my baking game! Plus, I can multitask like a pro—while the mixer’s doing its thing, I can prep other ingredients or even start cleaning up.
Consistency in Mixing for Better Baking Results
The consistent mixing results that stand mixers for baking provide are invaluable. I remember trying to make macarons by hand and my arm getting tired halfway through folding the batter. Those ended up looking more like pancakes than delicate French cookies. With a stand mixer, I get perfect results every time, and the consistency is just right.
Ability to Handle Large Batches and Heavy Doughs
Here’s a hard lesson I learned—not all stand mixers for baking are created equal. When I first got mine, I tried to make a double batch of my ultra-dense fruitcake batter. My poor mixer started making some concerning noises, and I thought I’d broken it! I quickly realized that if you plan to tackle big batches or heavy doughs regularly, it’s wise to invest in a model with a bit more muscle.
In the end, my stand mixer has become my go-to kitchen companion. It’s saved my bacon (or should I say my baked goods) more times than I can count. Whether you’re a weekend baker or a pastry-making machine, a stand mixer is worth every penny. Stand mixers for baking will save you time, energy, and maybe even a few arm aches along the way!
Top Features to Look for in a Stand Mixer for Baking
When I first started looking for stand mixers for baking, I was totally overwhelmed. I mean, who knew there were so many features to consider? I remember walking into the store, wide-eyed and clueless, thinking, “It’s just a mixer, right?” Wrong!
Motor Power and Durability
Let’s talk about motor power and durability first. I learned this lesson the hard way when I bought my first mixer—a cheap, flimsy thing that couldn’t handle my grandma’s heavy fruit cake batter. The poor machine started smoking halfway through! Now, I always check the wattage. Anything less than 250 watts is a no-go for serious baking. And durability? Look for all-metal gears and a sturdy build. Trust me, you don’t want your stand mixer for baking to give up on you mid-recipe.
Bowl Capacity and Material
Bowl capacity was another feature I totally underestimated at first. I got a cute little 3.5-quart mixer, thinking it would be perfect for my small kitchen. Big mistake! The first time I tried to make a double batch of cookies, the dough was practically overflowing. Now I swear by my 5-quart bowl—it’s perfect for most recipes, and I can even make big batches for dinner parties and events.
Pro tip: stainless steel bowls are the way to go. They’re durable, easy to clean, and won’t retain odours like plastic can.
Speed Settings and Control Options
I used to think more was better, but honestly, that’s not always the case. My current stand mixer for baking has 10 speeds, but I probably only use about 5 of them regularly. What’s really important is having good control over those speeds. I love mixers with a soft-start feature—it prevents that flour explosion that used to decorate my kitchen (and me) every time I started mixing!
Attachment Compatibility and Available Accessories
Attachment compatibility is something I wish I’d paid more attention to from the get-go. I started with just the basics—a flat beater, whisk, and dough hook. But let me tell you, once you discover the world of pasta makers, meat grinders, and even ice cream makers that can attach to your stand mixer, it’s a game-changer! Just make sure your mixer is compatible with the attachments you want before you buy. This versatility makes stand mixers for baking incredibly valuable in the kitchen.
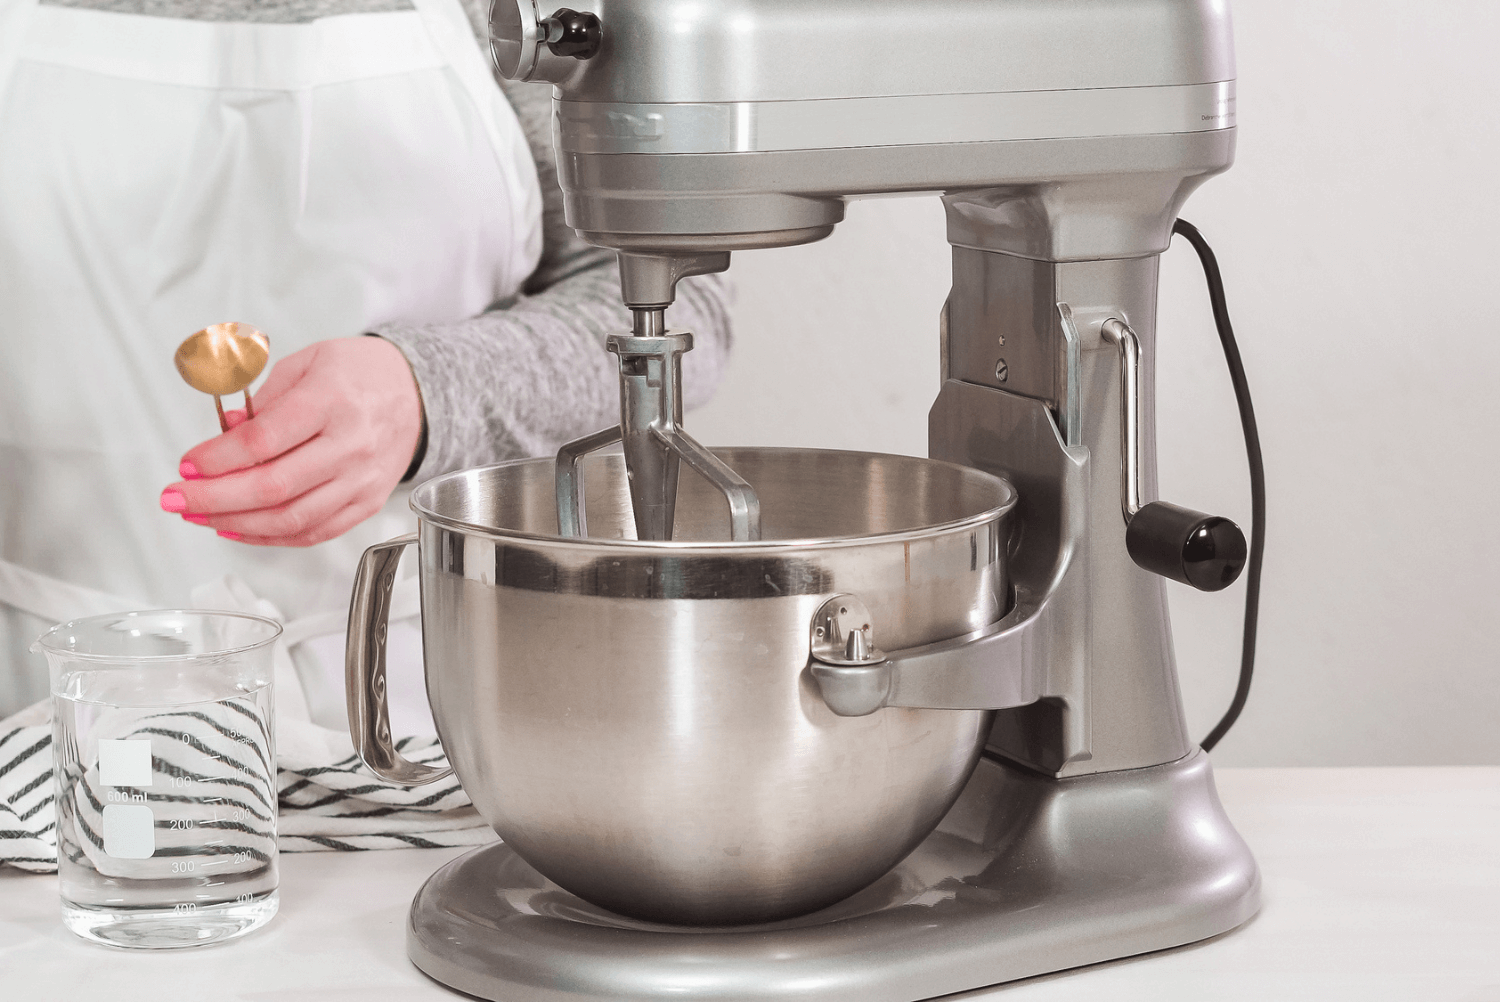
Tilt-Head vs. Bowl-Lift Designs
Lastly, let’s chat about tilt-head vs. bowl-lift designs. This one’s really a matter of personal preference and kitchen space. I started with a tilt-head and loved how easy it was to add ingredients. But when I upgraded to a larger, more powerful model, I switched to a bowl-lift design. It’s a bit more stable for heavy-duty jobs, but I do miss the easy access of the tilt-head sometimes. You’ll find more commercial bakers using bowl-lift mixers for their robustness.
In the end, finding the right stand mixer for baking is kind of like dating—you might have to kiss a few frogs before you find your prince! But once you do, oh boy, it’s baking bliss. With the right stand mixer, making everything from bread to cakes becomes a joyful experience, allowing you to unleash your creativity in the kitchen.
Our Top 5 Stand Mixers for Baking in 2024
Okay, so let’s talk about stand mixers in 2024. I’ve been through more mixers than I care to admit, and I’ve finally got the lowdown on what’s hot this year.
Top 5 Picks for Stand Mixers in 2024
First up, we’ve got the KitchenAid Artisan. This baby has been my ride-or-die for years now. It’s like the Swiss Army knife of mixers – it does everything! The 5-quart bowl is perfect for most recipes, and it comes with all the basic attachments you need. Plus, it comes in like a bazillion colours. I got the pistachio one, and it’s so pretty that I sometimes just stare at it instead of actually baking. The downside? It’s a bit pricey, and the motor can struggle with super heavy doughs. But for most home bakers, it’s a dream.
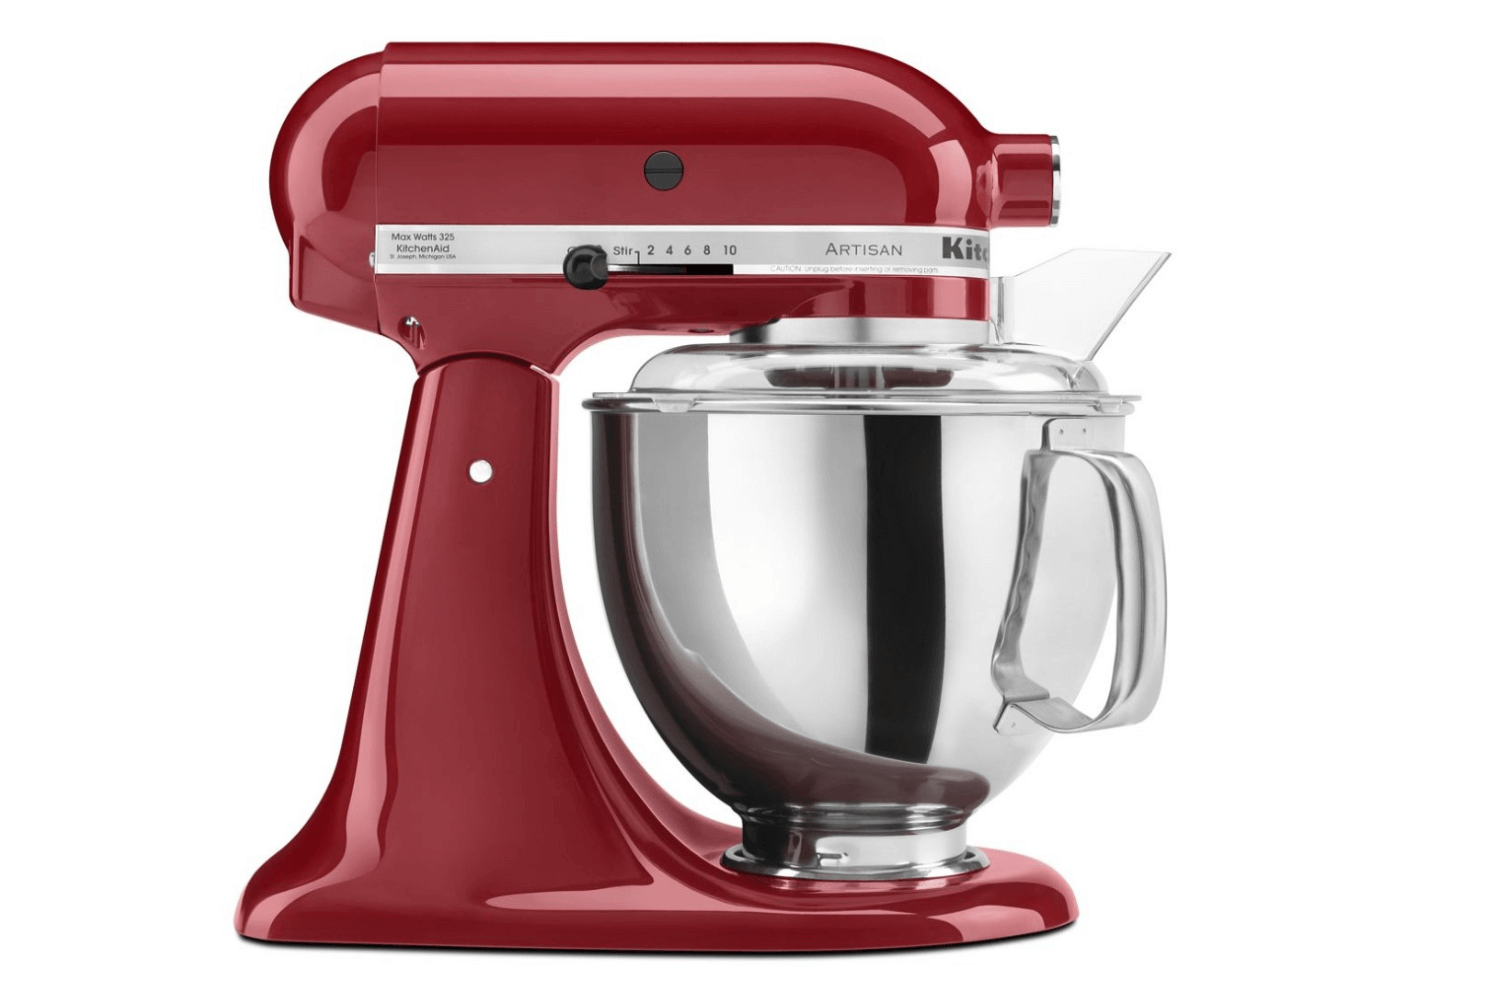
Image Source: KitchenAid
Next on my list is the Cuisinart Precision Master. This one’s a bit of a dark horse, but don’t sleep on it! I was sceptical at first, but it’s surprisingly powerful for its size. The 5.5-quart bowl gives you a little extra room to play with, which I love. It’s great for bread dough, and the price point is pretty sweet too. The only bummer is that it’s a bit louder than some of the others. But hey, maybe that’s just an excuse to crank up your baking playlist, right?
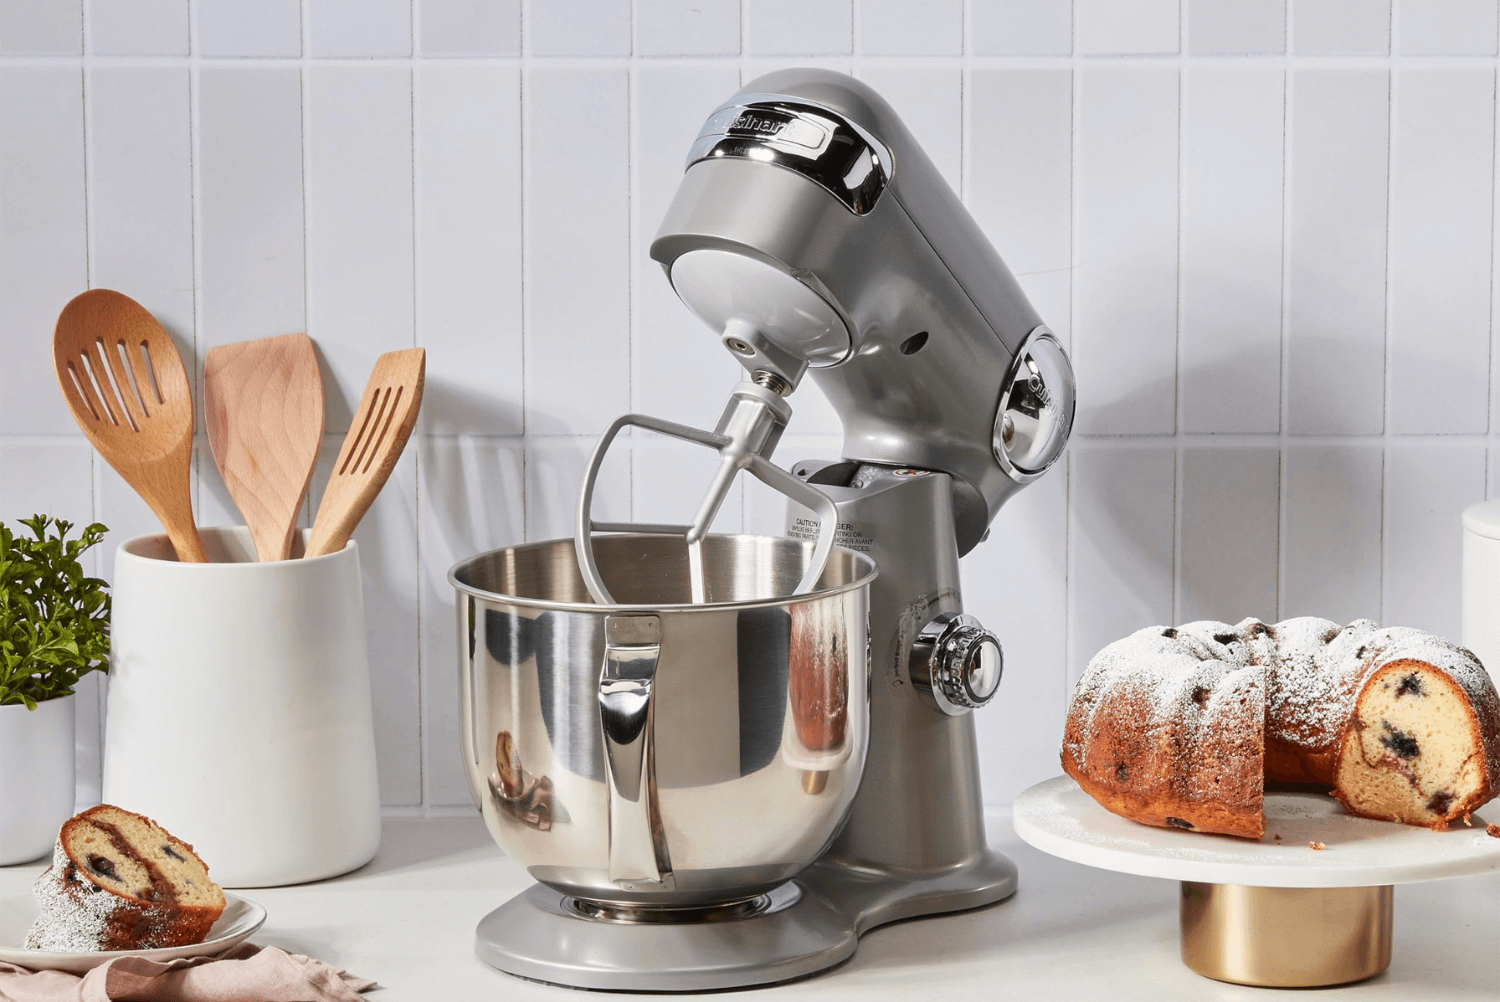
Image Source: Amazon
Now, if you’re serious about bread making, you’ve gotta check out the Ankarsrum Original. This Swedish beauty is a beast when it comes to kneading dough. I remember the first time I used it – I thought I’d broken it because it was so quiet! Turns out, it’s just that well-made. The unique design takes some getting used to, and it’s definitely an investment. But if you’re churning out loaves like a bakery, it’s worth every penny.
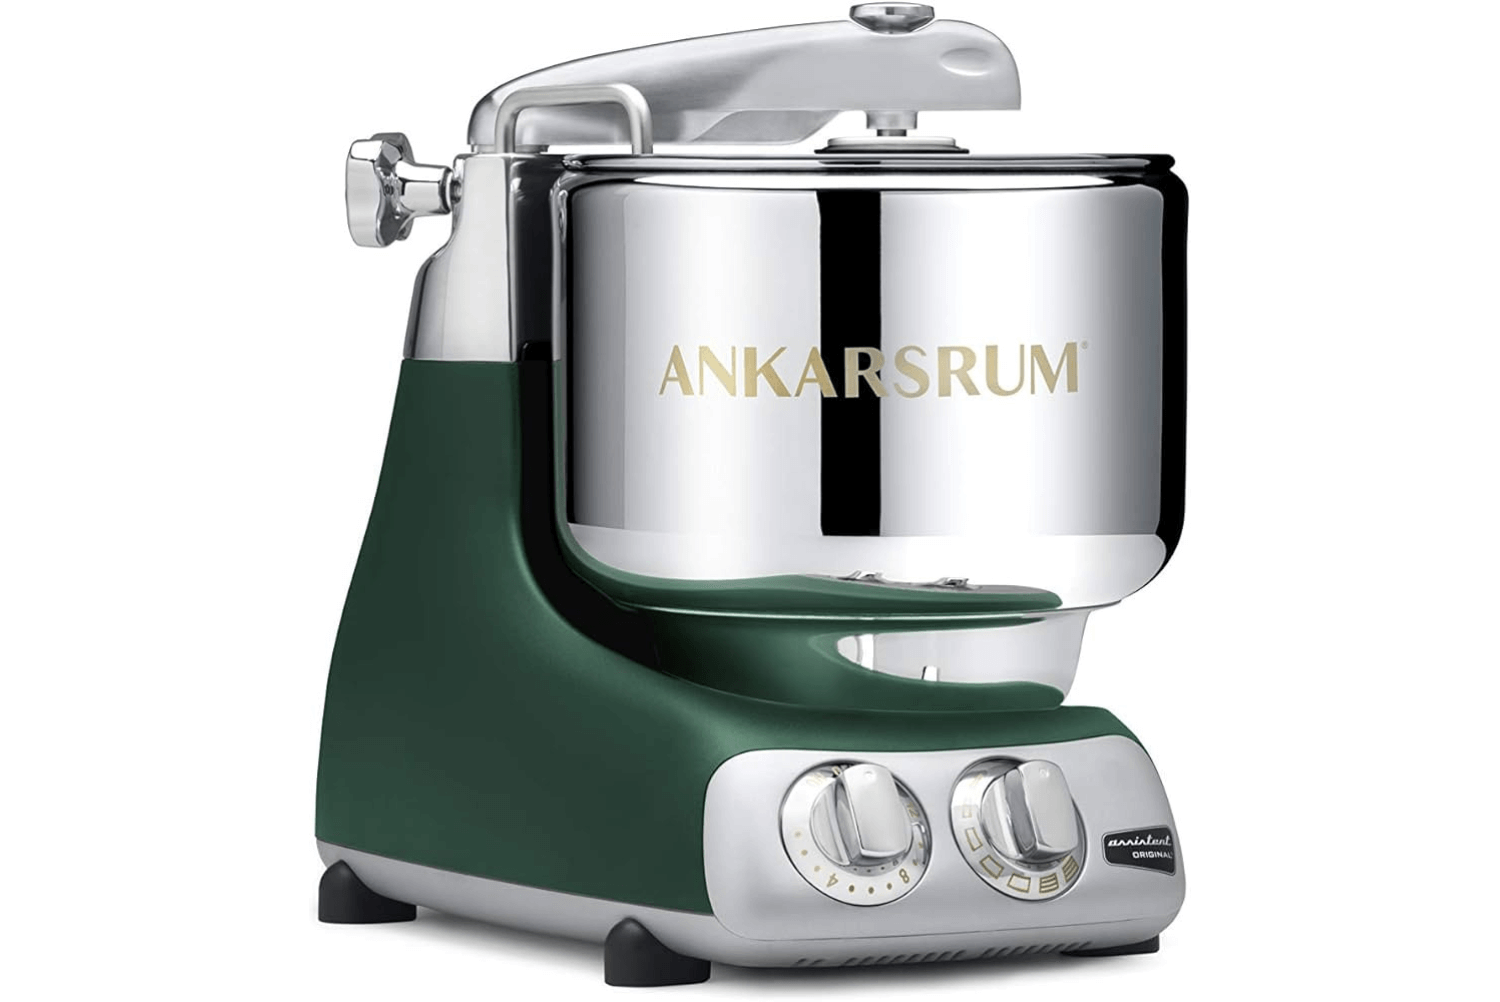
Image Source: Amazon
Another great stand mixer is the Smeg Stand Mixer, is a solid choice. It’s really pretty and its quiet. It is sturdy and it gets the job done. I got one for my cousin who’s just starting to bake, and she loves it. Good for everyday baking.
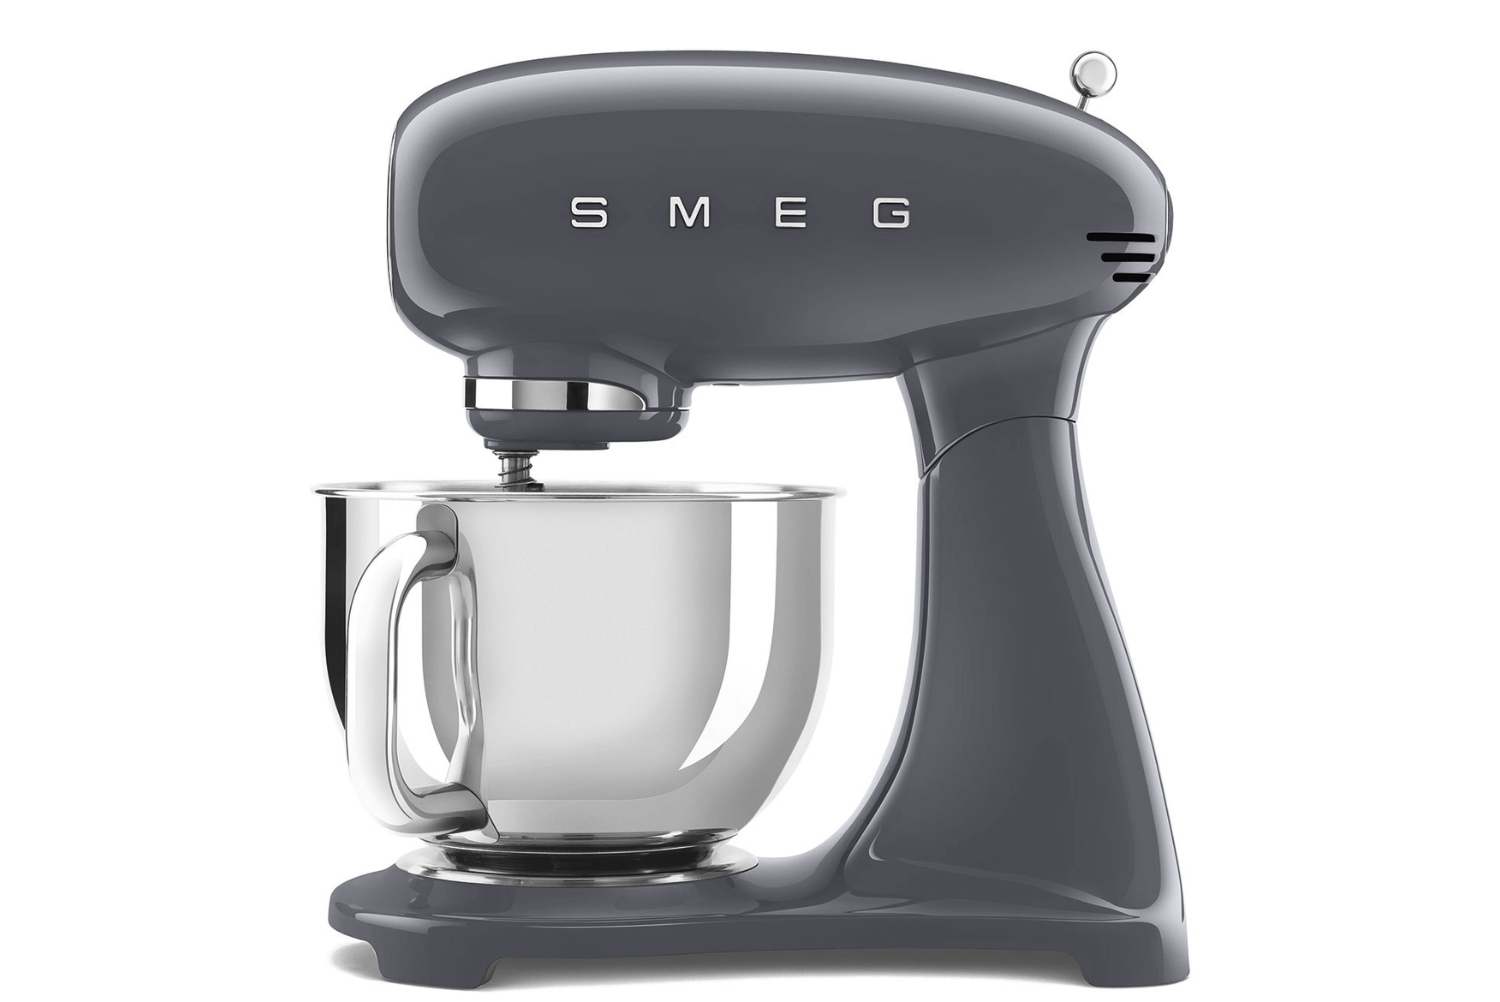
Image Source: Smeg
Last but not least, we’ve got the Breville Bakery Chef™. The Breville Bakery Chef™ stands out with its robust 1000W motor and durable full metal gears, ensuring efficient 360-degree coverage of the bowl through its planetary mixing action. This bench mixer not only excels in mixing; it also doubles as a versatile kitchen tool with its innovative attachment hub. By adding any of the available food prep attachments, this mixer transforms into a multi-functional kitchen assistant, expanding its utility beyond traditional mixing tasks. This feature makes it a valuable addition to any kitchen, appealing to those looking for a powerful and versatile appliance.
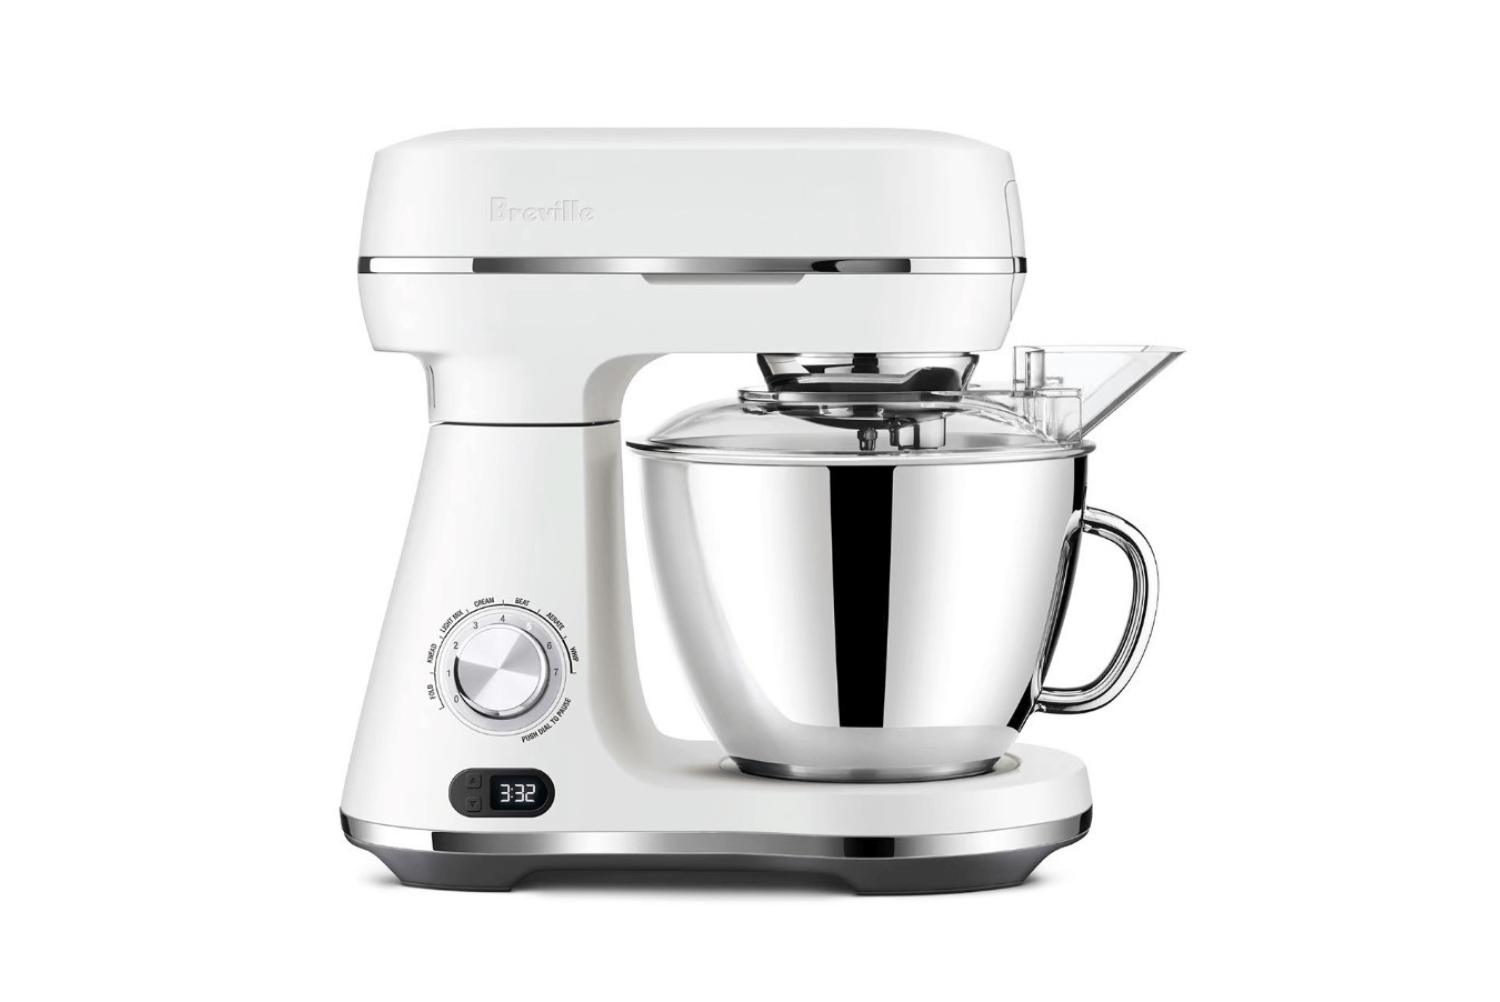
Image Source: Breville
Price Comparisons and Value for Money
When it comes to value for money in stand mixers for baking, I’d say the Smeg gives you the most bang for your buck. The KitchenAid and Breville mixers are pricier, but they’re workhorses that’ll last for years. The Ankarsrum is on the higher end of the price spectrum, but if bread’s your passion, it’s worth the investment. Meanwhile, the Cuisinart offers a more cost-effective option for those just starting their baking journey with stand mixers.
For different baking needs, here’s my two cents: If you’re focused on bread, go with the Ankarsrum or the Cuisinart. For cakes and pastries, the KitchenAid or Breville stand mixers for baking are your best bets. If you find yourself doing a bit of everything in the kitchen, the KitchenAid Artisan is hard to beat.
How to Use Your Stand Mixer Like a Pro Baker
Let’s start with some essential techniques for using your stand mixers for baking. When I first got my mixer, I thought I could just toss everything in and let it rip. Big mistake! I ended up with flour all over my kitchen (and myself). Here’s the deal: start slow, people. Like, really slow. I always begin on the lowest setting, especially when adding dry ingredients.
And here’s a pro tip: drape a kitchen towel over the mixer to catch any flour flyaways. Your future self will thank you during cleanup time.
Now, let’s talk about dough consistency. This used to be my nemesis, I swear. I’d either end up with a sticky mess or a rock-hard ball that could double as a weapon. The key? Add your liquids gradually. I like to pour them down the side of the bowl while the mixer is running on low. And don’t forget to scrape down the sides of the bowl! I can’t tell you how many times I’ve found a clump of unmixed flour hiding at the bottom.
Oh, and here’s a clever hack I stumbled upon by accident: use the paddle attachment on your stand mixers for baking to shred chicken. I know it sounds weird, but it works like a charm! Just toss in your cooked chicken breast, give it a few pulses, and voilà—perfectly shredded chicken for salads or tacos.
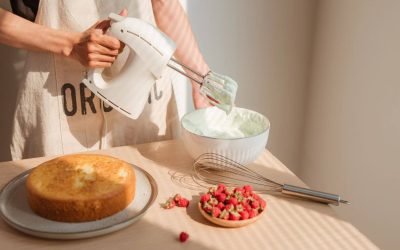
Another trick I love? Use the whisk attachment to make whipped cream. But here’s the kicker—chill the bowl and whisk in the freezer for about 15 minutes before you start. It makes the cream whip up faster and fluffier. I discovered this method when I was in a rush for a dinner party, and now it’s my go-to technique.
With these tips, you’ll not only maximize the potential of your stand mixers for baking, but you’ll also enjoy the entire process of creating delicious treats!

Common Mistakes to Avoid When Using a Stand Mixer
Now, let’s chat about some common mistakes to avoid when using stand mixers for baking.
First up: overbeating. I used to think that more mixing meant better results, but that couldn’t be further from the truth! Overbeating can lead to tough cakes and dense bread. When the recipe says, “mix until just combined,” they mean it! Also, don’t forget to scrape the bottom of the bowl. I can’t tell you how many times I thought my batter was perfect, only to discover a layer of unmixed ingredients lurking at the bottom.
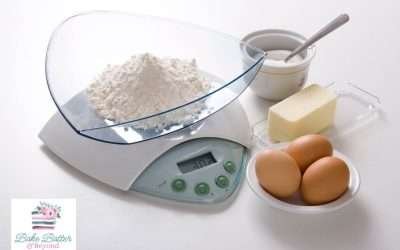
Another biggie? Using cold ingredients when the recipe calls for room temperature. I used to be so impatient that I would just throw in cold eggs and butter, resulting in curdled batter and uneven mixing. Now, I always set out my ingredients ahead of time before even thinking about turning on the stand mixer for baking. This simple step can significantly improve your results.
Oh, and don’t forget to lower the bowl before removing it! I learned this the hard way when I lifted the head of my stand mixer without lowering the bowl first. Let’s just say it wasn’t pretty, and I had to start my cake batter all over again.
Lastly, remember that your stand mixer isn’t invincible. I once tried to mix a double batch of super thick cookie dough and nearly burned out the motor. If you hear your mixer straining, it’s a good idea to stop and finish by hand. It’s better to take a little extra time than to end up with a broken mixer and half-mixed dough.
These are just a few of the tricks I’ve picked up over the years while using stand mixers for baking. Remember, baking is part science, part art, and a whole lot of trial and error. With these tips, you’ll be well on your way to creating delicious treats without any hiccups!
Beyond the Basics: Exciting Stand Mixer Attachments for Bakers
The day I discovered stand mixer attachments was like Christmas morning all over again! I’d been using my trusty KitchenAid stand mixer for years, just for the basics—mixing cake batters and kneading bread dough, that sort of thing. Then my neighbor showed up with a plate of homemade ravioli. “Made it with my stand mixer,” she said. My mind was blown!
Exploring Pasta Makers, Meat Grinders, and Other Versatile Attachments
So, I dove headfirst into the world of mixer attachments. First up was the pasta maker. Let me tell you, the first time I used it was a disaster. Flour everywhere, dough stuck in the rollers—it was like an episode of “I Love Lucy”! But once I got the hang of it? Total game changer. Fresh pasta on a weeknight? No problem!
Then I discovered the meat grinder attachment. Now, I’d always been a bit squeamish about grinding my own meat, but let me tell you, once you’ve had burgers made with freshly ground chuck, you’ll never go back to store-bought. Using stand mixers for baking or cooking meat is a breeze when you have the right attachments.
And then there’s the ice cream maker attachment. Homemade ice cream without having to buy a whole new appliance? Sign me up! The first batch I made was a simple vanilla, and while it was good, it was nothing special. Then I got brave and tried lots of different flavors, and wow, homemade ice cream became a hit at dinner parties!
Making the Most of Your Stand Mixers for Baking
Now, I know what you’re thinking—”But aren’t all these attachments expensive?” Well, yes and no. Sure, they’re not cheap, but think about it this way: how much would you spend on a separate pasta maker, meat grinder, and ice cream machine? Plus, these attachments take up way less space. My kitchen used to look like an appliance graveyard; now it’s all neatly tucked away in one drawer.
That being said, I’ll admit I went a little attachment-crazy at first. I bought a spiralizer that I’ve used exactly twice (turns out, I’m not as into zoodles as I thought I’d be). So, my advice? Start with one attachment that you think you’ll use often. For me, that was the pasta maker. Then, as you get more comfortable and adventurous in the kitchen, you can add more to your collection of stand mixers for baking.
How Additional Attachments Can Expand Your Baking Repertoire
One thing I’ve learned about stand mixers for baking is that their additional attachments really do expand your culinary horizons. I never thought I’d be making my own sausages or grinding my own flour, but here we are! With the right stand mixer and attachments, it’s like having a whole kitchen’s worth of appliances in one machine. Plus, there’s something really satisfying about making things from scratch, especially when you can use stand mixers for baking to streamline the process.
In the end, I think the attachments for stand mixers are worth it if you’re really into cooking and baking. They’ve allowed me to try new recipes and techniques I never would have attempted before, such as pasta making and ice cream churning. If you’re on the fence about mixer attachments, I say go for it! Start small, see what you like, and who knows? You might just discover a whole new passion for baking and cooking. And if not, well, at least you’ll have some funny kitchen disaster stories to share!
There you have it, baking enthusiasts – the ultimate lowdown on stand mixers for all your flour-powered adventures! With the right stand mixer by your side, you’ll be whipping up everything from pillowy meringues to rustic artisan bread like a pro. Remember, investing in a quality stand mixer is like giving your baking skills a turbo boost. So go ahead, pick the perfect mixer for your needs, and get ready to create some seriously delicious memories.
Choosing the right stand mixer is just the beginning. For more must-have baking tools and equipment, visit our Baking Tools page and discover everything you need to create delicious treats with ease!

About the Author
Kaylene Grieve, a passionate baker and culinary educator, carries on a rich family legacy in the world of pastries and confections that began with her grandfather’s successful bakery. With over two decades of experience in business and marketing, Kaylene combines her baking heritage with digital expertise as the founder of Bake Batter & Beyond. This comprehensive baking resource reflects her mission to make the joy and science of baking accessible to all.
Dedicated to empowering both novice and experienced bakers, Kaylene’s website offers practical knowledge and tools including measurement converters, substitution guides, troubleshooting tips, and baking rescue techniques. Her special focus on the intricate world of cake making, coupled with her unique blend of family tradition and modern savvy, has established Kaylene as a trusted voice in the baking community.
0 Comments