

Making cotton candy at home can be a fun and delicious activity for people of all ages. The process might seem daunting at first, but with the right equipment and ingredients, you can easily create fluffy and sweet treats right in your own kitchen. In this article, we will guide you through the entire process of making cotton candy at home, from understanding the science behind it to cleaning and maintaining your cotton candy machine. So let’s dive in and get started on this sugary adventure!
Essential Ingredients for Making Cotton Candy at Home
Basic Ingredients
- Granulated Sugar – Regular white sugar works best as the main ingredient for cotton candy. You can also use flavoured sugars or add your own flavours.
- Flavoured Extracts or Flavored Sugars (optional) – Adding a few drops of flavour extract, like vanilla or strawberry, can enhance the taste, or you can purchase pre-flavoured cotton candy sugar.
- Food Coloring (optional) – A tiny amount of gel or powdered food colouring can be added to the sugar to give your cotton candy a pop of colour.
Choosing the Right Sugar
When it comes to making cotton candy, not all sugars are created equal. It’s best to use high-quality granulated sugar that is free of any additives or impurities. The size of the sugar crystals also plays a role in how well it spins into cotton candy. Finer-grained sugars tend to work better, as they melt more easily and create smoother threads.
Consider exploring organic or unrefined sugar options for a more nuanced flavour profile in your cotton candy. These sugars can add depth and complexity to the sweetness, elevating your homemade treat to gourmet status. Experiment with different sugar varieties to discover the perfect balance of taste and texture that suits your palate.
Adding Flavours and Colours
One of the great things about making cotton candy at home is the ability to experiment with different flavours and colours. You can find a wide variety of cotton candy flavourings and food colouring options to suit your taste preferences. Whether you prefer classic flavours like vanilla or more adventurous ones like bubblegum, the choice is yours. Just remember to follow the instructions on the flavouring packaging to ensure the right amount is added to the sugar.
You could also consider incorporating natural extracts like lavender or citrus zest for a fresh twist on traditional flavours. Don’t be afraid to play with vibrant hues using food colouring to make your cotton candy visually appealing and Instagram-worthy. The possibilities are endless when it comes to customising your cotton candy experience.
Necessary Equipment for Cotton Candy Making
Before you begin making cotton candy at home, you’ll need to gather a few essential tools. The most important piece of equipment is a cotton candy machine. These machines are specifically designed to heat and spin sugar into cotton candy. You can find both countertop and handheld versions, depending on your preferences and space limitations. Additionally, you’ll need sugar, flavourings, food colouring, cone holders, and cones or sticks to serve the finished cotton candy.
Furthermore, to enhance your cotton candy-making experience, consider investing in a variety of flavourings such as vanilla, strawberry, or even exotic options like coconut or mango. Experimenting with different flavours can elevate your cotton candy creations and cater to a wider range of taste preferences. Additionally, using different colours of food colouring can add a fun and vibrant touch to your final product, making it visually appealing and enticing for both kids and adults alike.
Step-by-Step Guide to Making Cotton Candy
Now that you have everything prepared, let’s dive into the step-by-step process of making cotton candy at home. Making cotton candy is not only a fun activity but also a delicious treat that will surely delight both kids and adults alike.
Before we begin, it’s important to note that making cotton candy requires precision and patience. The key to perfect cotton candy lies in the technique of spinning the sugar threads just right to create that light and airy texture.
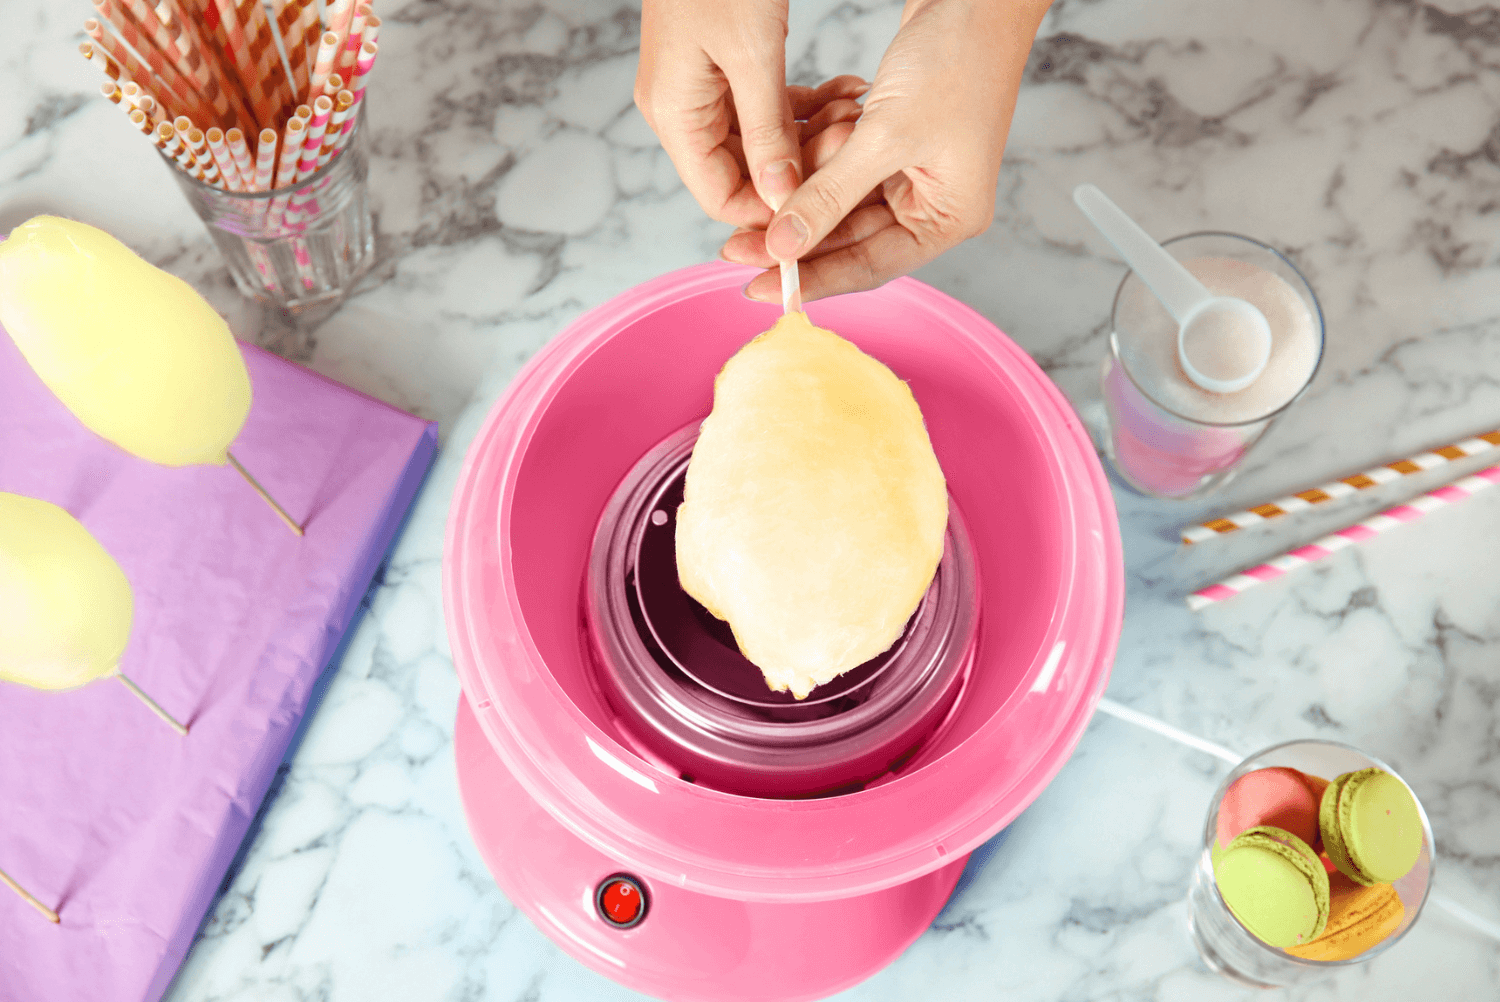
Setting Up Your Cotton Candy Machine
Start by assembling and setting up your cotton candy machine according to the manufacturer’s instructions. Make sure the machine is clean and free of any debris before use. If your machine requires preheating, allow it to warm up to the recommended temperature. This step is crucial in ensuring that the sugar melts evenly and forms the characteristic cotton candy strands.
Additionally, it’s a good idea to place your cotton candy machine in a well-ventilated area to prevent the sugar floss from sticking to surfaces. A clean and spacious countertop will provide you with ample room to work and create beautiful cotton candy creations.
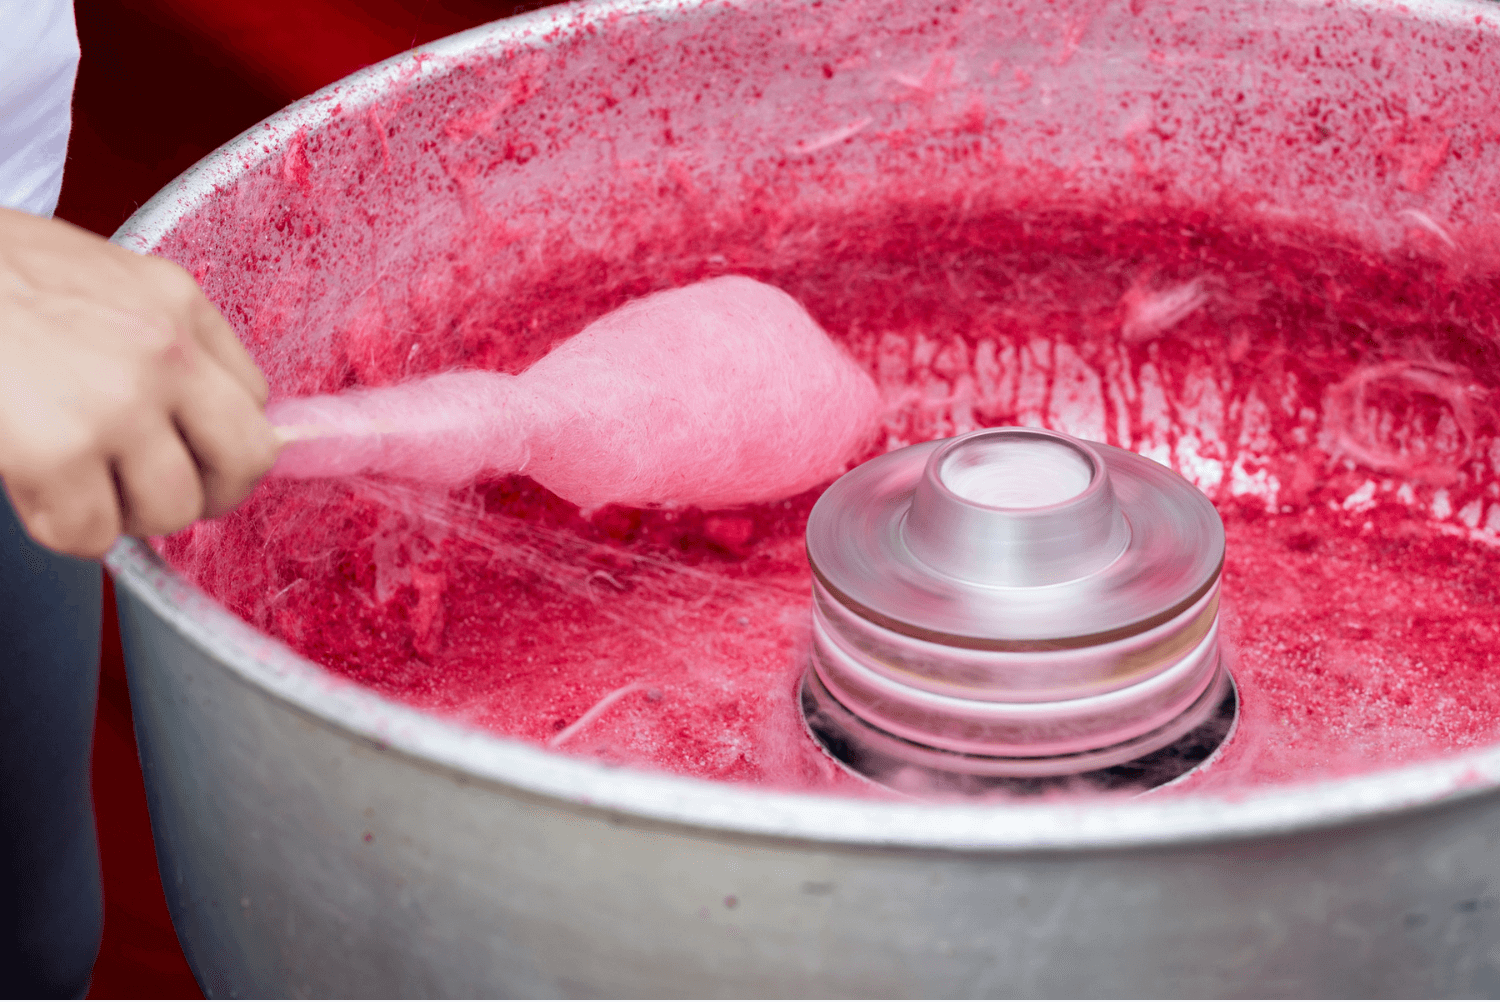
Spinning the Cotton Candy
Once your machine is ready, it’s time to start spinning some cotton candy! Begin by pouring a measured amount of sugar into the machine’s spinning head. Turn on the machine and wait for the sugar to melt and spin into delicate threads. Use a cone or stick to catch the threads of cotton candy as they form. Gently rotate the cone or stick to collect the cotton candy and create a fluffy cloud.
As the sugar threads start to accumulate on your cone or stick, you can experiment with different techniques to create unique shapes and designs. Twirl the cone quickly for a tighter cotton candy bundle or move it in slow, deliberate motions for a looser and more whimsical look. The possibilities are endless when it comes to crafting your own cotton candy masterpiece!
Safety Precautions While Making Cotton Candy
While making cotton candy at home can be a delightful experience, it’s essential to prioritise safety. Here are a few precautions to keep in mind:
Handling the Cotton Candy Machine
When making cotton candy at home, it’s essential to handle your cotton candy machine with care, as it involves high heat and moving parts. Start by carefully reading and following the manufacturer’s instructions for safe operation. Always use oven mitts or heat-resistant gloves when working near the machine to protect your hands from the heat. It’s also wise to keep children and pets at a safe distance to avoid any accidents or injuries while the machine is in use.
Before you even turn the machine on, make sure it’s set up on a stable, heat-resistant surface. This setup helps prevent accidental spills or tipping over, which could be both messy and potentially dangerous. Additionally, inspect the power cord regularly for any frays or damage, as a damaged cord can lead to electrical hazards. If the cord is frayed or damaged, avoid using the machine until it is repaired or replaced. By taking these precautions, you can enjoy making cotton candy at home safely.
Avoiding Common Mistakes
Making cotton candy at home can be a fun but tricky process that takes practice and experimentation to get just right. Many beginners make common mistakes, such as using too much or too little sugar, spinning the cotton candy too fast or too slow, or not collecting the candy correctly. If your cotton candy isn’t coming out perfectly fluffy on your first attempt, don’t be discouraged—adjusting these variables with practice will help you achieve the ideal results.
Another essential aspect of making cotton candy at home is to ensure that your work area is clean and free of hazards. Clear any clutter around the machine to create a safe workspace. It can also be wise to keep a fire extinguisher nearby, even though cotton candy machines are generally safe when used correctly. Having a well-organized and hazard-free space can make your experience of making cotton candy at home much smoother and more enjoyable.
Understanding the Cotton Candy Making Process
Before diving into the details of making cotton candy at home, it’s helpful to understand how this delightful treat is created. At its core, cotton candy is simply sugar that has been melted and spun into incredibly thin threads. These threads are collected to form a fluffy cloud of sweetness, which we recognise as cotton candy. The process relies on the unique properties of melted sugar and the rapid cooling that occurs as the sugar solidifies in mid-air.
The Science Behind Making Cotton Candy at Home
Making cotton candy at home involves fascinating principles of caramelisation and crystallisation. When sugar is heated, it melts and undergoes caramelisation, taking on an amber color and developing a rich, complex flavor. As the melted sugar rapidly cools, it forms small sugar crystals that are spun together to create the iconic, airy texture of cotton candy.
Moreover, the process of making cotton candy at home is not only a culinary delight but also an impressive display of physics in action. The centrifugal force generated by the spinning head of the cotton candy machine stretches the sugar into fine threads. This force, along with the quick cooling of the sugar, produces the delicate texture that makes cotton candy so appealing.
Cleaning and Maintenance of Your Cotton Candy Machine
After enjoying your freshly spun cotton candy, it’s essential to clean and maintain your cotton candy machine to ensure it remains in excellent condition for future use. Proper cleaning and storage will not only extend the life of your machine but also ensure that each time you use it, the machine operates smoothly, delivering consistently delicious cotton candy. Follow the manufacturer’s instructions for cleaning, and store your machine in a dry, safe place to keep it ready for the next time you’re making cotton candy at home.
Proper Cleaning Techniques
Most cotton candy machines come with removable parts, which makes cleaning easier. Follow the manufacturer’s guidelines for disassembling the machine; this will typically involve removing the spinning head and sugar reservoir. These components often have residual sugar that needs to be cleaned off. Wash these parts with warm, soapy water to dissolve any sticky residue. Rinse and dry each piece thoroughly before reassembling, as moisture left in the machine can attract dust or cause issues the next time you’re making cotton candy at home.
Ensuring the Longevity of Your Machine
To extend the lifespan of your cotton candy machine, it’s essential to store it properly when not in use. Keep it in a clean, dry location that’s protected from dust and humidity, which can affect the machine’s components. Regularly check for any signs of wear or damage, such as loose screws or cracked parts, and address these issues promptly to prevent further damage.
Now that you’re equipped with all the necessary steps for handling, maintaining, and cleaning your cotton candy machine, you’re ready to start making cotton candy at home like a pro. Gather your ingredients, set up your machine, and dive into the world of homemade cotton candy. Enjoy the process, and before you know it, you’ll be a master at making cotton candy at home!
Start spinning your sweet creations today! For more candy-making tips and tricks, visit Bake Batter and Beyond.


About the Author
Kaylene Grieve, a passionate baker and culinary educator, carries on a rich family legacy in the world of pastries and confections that began with her grandfather’s successful bakery. With over two decades of experience in business and marketing, Kaylene combines her baking heritage with digital expertise as the founder of Bake Batter & Beyond. This comprehensive baking resource reflects her mission to make the joy and science of baking accessible to all.
Dedicated to empowering both novice and experienced bakers, Kaylene’s website offers practical knowledge and tools including measurement converters, substitution guides, troubleshooting tips, and baking rescue techniques. Her special focus on the intricate world of cake making, coupled with her unique blend of family tradition and modern savvy, has established Kaylene as a trusted voice in the baking community.


0 Comments