

If you’re looking to take your cake decorating skills to the next level, creating royal icing flowers is a stunning option. These delicate, edible flowers can be made in a variety of shapes and colours, adding an elegant touch to any baked creation. In this guide, we’ll cover everything you need to know to create beautiful royal icing flowers from scratch.
Understanding the Basics of Royal Icing
Before we dive into the intricate details of creating royal icing flowers, let’s start with the basics. Royal icing is a type of icing that hardens when it dries, making it ideal for creating intricate decorations. It is made by combining confectioners’ sugar, meringue powder, and water to form a smooth and thick consistency. (There are other variations of royal icing on the web)
Royal icing has been used for centuries in the art of cake decorating. Its versatility and ability to dry to a hard, smooth finish have made it a favourite among bakers and decorators alike. The process of creating royal icing involves carefully measuring and mixing the ingredients to achieve the perfect balance of texture and stability.
The Ingredients Needed for Royal Icing
- Confectioners’ sugar: Used as the base for the icing.
- Meringue powder: Gives the icing its stability and texture.
- Water: Helps to thin out the icing and achieve the desired consistency.
The Science Behind Royal Icing Consistency
One of the key factors in creating successful royal icing flowers is achieving the right consistency. The consistency of royal icing can vary depending on the purpose. For piping flowers, a medium to stiff consistency is generally preferred. This allows the icing to hold its shape without spreading or collapsing. A thinner consistency is good for flooding or piping outlines.
Experimenting with different water-to-sugar ratios will help you find the perfect consistency for your icing. If the icing is too runny, gradually add more confectioners’ sugar until it thickens. If it’s too stiff, add small amounts of water until it becomes more manageable.
Mastering the art of royal icing consistency takes practice and patience. Professional bakers often spend years honing their skills to achieve the perfect balance of firmness and pliability in their royal icing. Understanding how different factors, such as humidity and temperature, can affect the consistency of your icing is crucial in creating flawless decorations.
Tools and Materials for Making Icing Flowers
Creating royal icing flowers requires a few specialised tools and materials. These include:
Essential Tools for Icing Flower Creation
- Piping bags: Used to hold and dispense the royal icing.
- Piping tips: Various shapes and sizes are available to create different flower patterns.
- Flower nails: Metal tools with a flat surface used as a base for creating icing flowers.
- Parchment paper: Provides a non-stick surface for drying the icing flowers.
Mastering the art of creating delicate and intricate royal icing flowers requires not only skill but also the right tools. In addition to the essential tools mentioned above, flower formers can be incredibly helpful. These plastic or silicone domes are designed to help shape and dry icing flowers, ensuring they maintain their form and detail.
Selecting the Right Piping Tips
Choosing the right piping tip is crucial for creating intricate and realistic icing flowers. Different tips produce different flower shapes and textures. Wilton’s piping tip #101 is perfect for creating delicate petals, while tip #12 is ideal for creating small flower centres.
Experiment with different tips to discover the variety of flower designs you can achieve with royal icing.
Furthermore, investing in a flower nail template can significantly aid in creating symmetrical and well-balanced icing flowers. These templates provide guidelines for piping petals and arranging them to form beautiful blooms. With the right tools and a bit of practice, you can elevate your icing flower creations to a professional level.
Step-by-Step Process to Create Royal Icing Flowers
Now that you have a good grasp of the basics and have gathered your tools and materials, let’s dive into the step-by-step process of creating royal icing flowers.
Preparing Your Royal Icing
Start by preparing your royal icing. Sift confectioners’ sugar to remove any lumps. In a mixing bowl, combine confectioners’ sugar and meringue powder. Gradually add water, mixing on low speed until smooth and creamy. If needed, adjust the consistency by adding more sugar or water.
Creating the perfect royal icing consistency is crucial for achieving the desired results. The consistency should be thick enough to hold its shape when piped, but not too thick that it becomes difficult to pipe. It’s a delicate balance that comes with practice and experience. So, don’t be discouraged if you don’t get it right the first time. Experimentation and adjustments are key!
Mastering the Piping Technique
Fill your piping bag with the prepared royal icing and attach the desired piping tip. Begin by practising the piping technique on parchment paper or a practice surface. Apply consistent pressure to the piping bag while moving in a circular motion to create the base for your flower.
Piping can be a challenging skill to master, but with patience and perseverance, you’ll soon be creating stunning royal icing flowers. Remember to maintain a steady hand and keep the pressure consistent to achieve uniform petals and centres. It may take a few tries to get the hang of it, but don’t give up!
Once you feel comfortable with the technique, use the flower nails as a base for creating your royal icing flowers. Pipe the desired petals and centres, building the flower layer by layer. Allow the flowers to dry completely on the parchment paper before carefully removing them.
Drying and Storing Your Icing Flowers
Proper drying is essential to maintain the shape and quality of your royal icing flowers. Place the piped flowers on a parchment paper-lined baking tray and let them air dry at room temperature for at least 24 hours. This slow-drying process allows the flowers to harden and set, ensuring that they hold their shape.
While waiting for your royal icing flowers to dry, resist the temptation to rush the process by using a fan or heat source. This can cause the flowers to dry unevenly and may result in cracking or collapsing. Patience is key here!
Once dry, store the flowers in an airtight container in a cool, dry place until you’re ready to use them. Proper storage ensures that your hard work doesn’t go to waste and that the flowers remain intact and beautiful until they adorn your cakes, cupcakes, or other sweet creations.
Different Types of Royal Icing Flowers
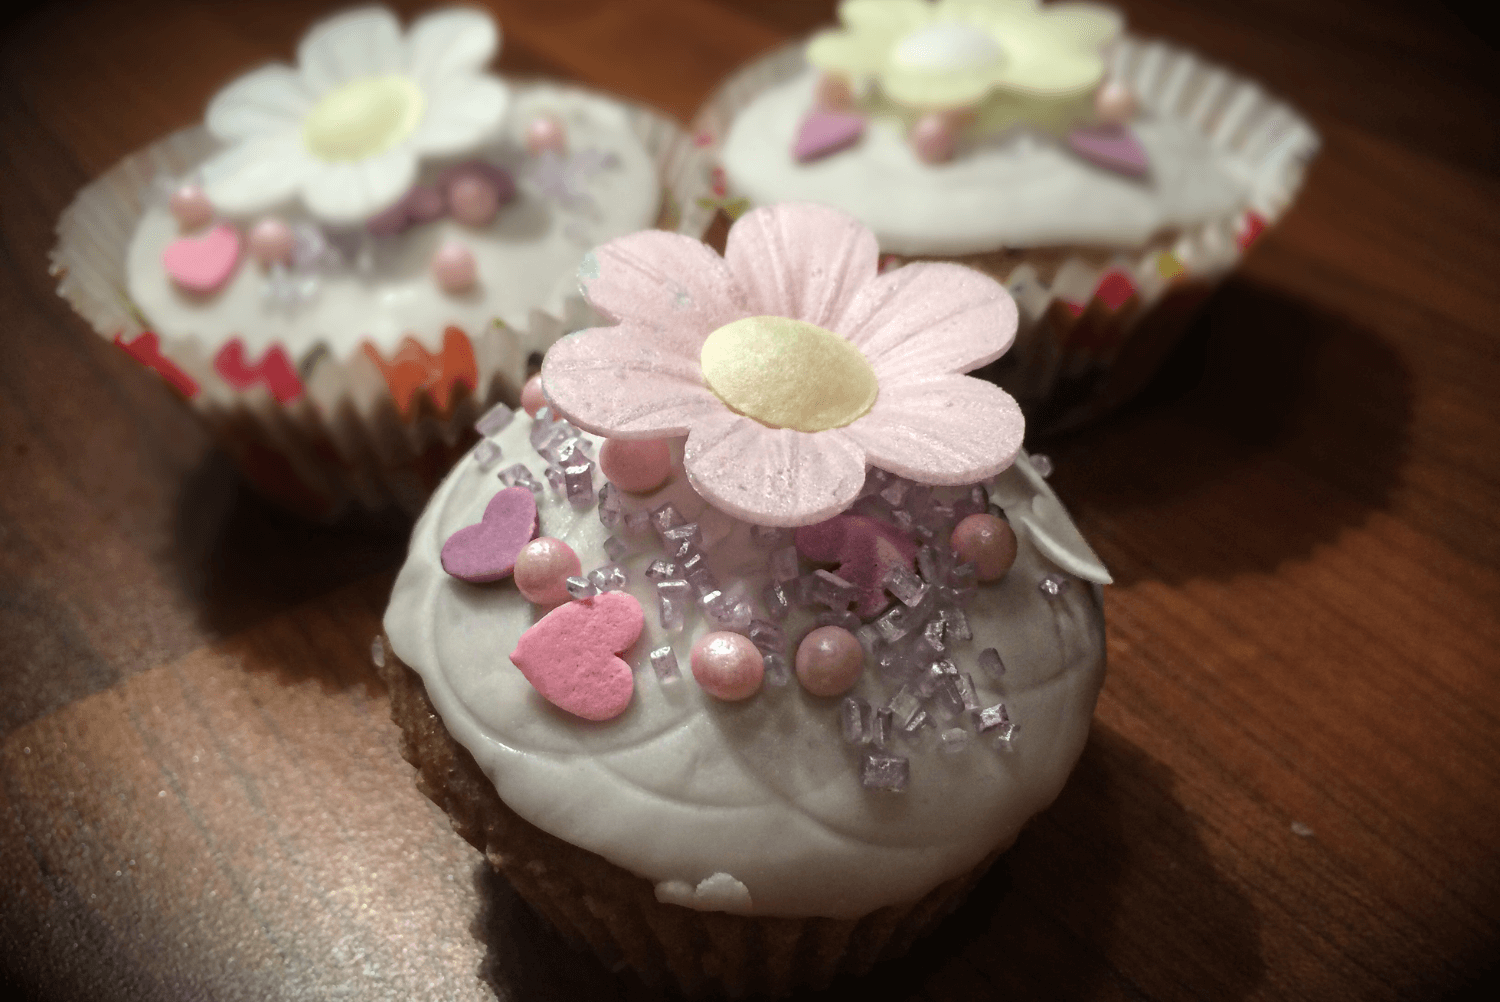
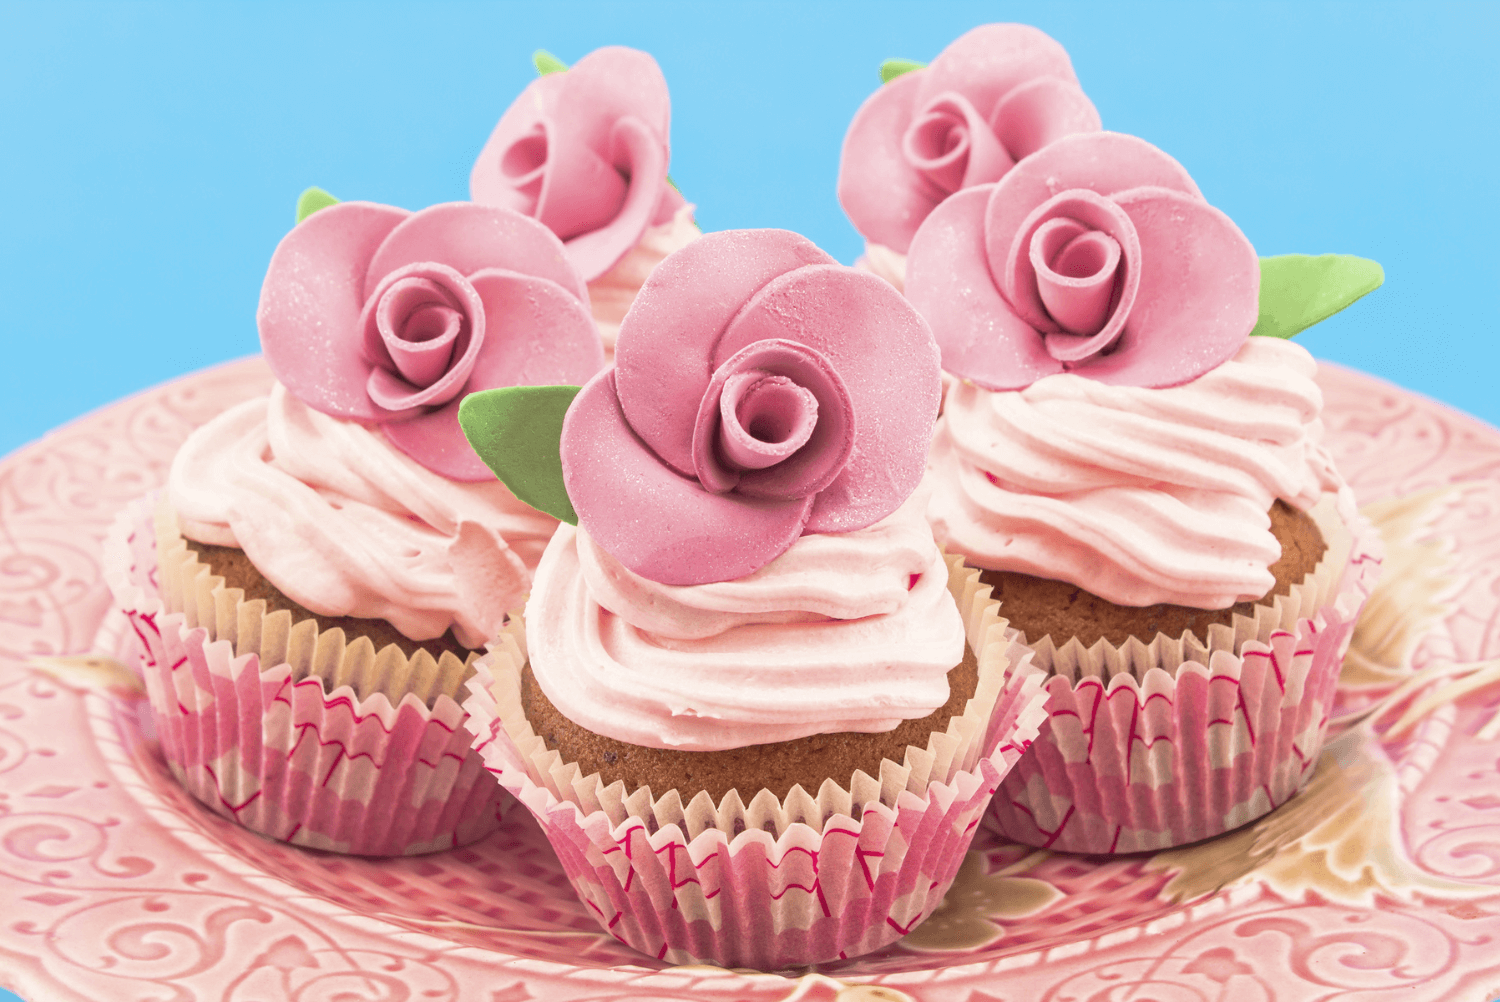
There are endless possibilities when it comes to creating royal icing flowers. From classic roses to cheerful daisies and elegant lilies, each flower design offers a unique challenge and beauty to your confectionery creations.
When delving into the art of royal icing flower decorations, it’s important to pay attention to the details and techniques that can elevate your designs to the next level. Let’s explore a few more intricate flower designs that can truly make your desserts stand out.
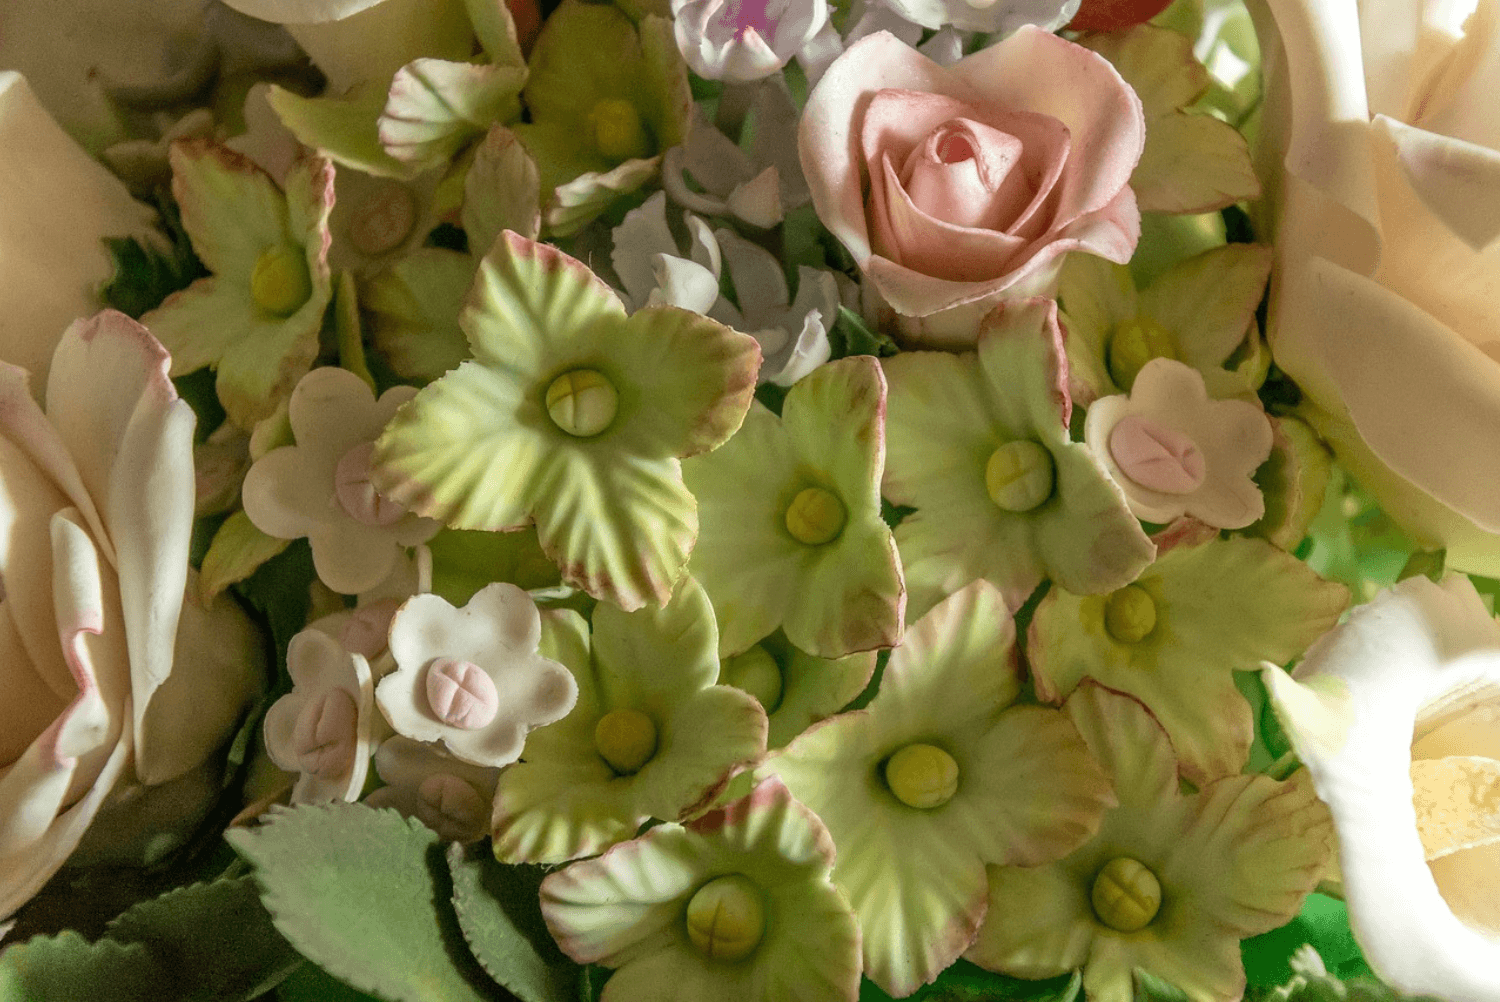
Creating Tulips and Peonies with Royal Icing
Tulips and peonies are popular choices for those looking to add a touch of sophistication to their baked goods. To create tulips, start by piping a slender, elongated centre and then add layers of petals that gently curve outwards. Peonies, on the other hand, require intricate layering of delicate petals to form their lush, full blooms.
Crafting Cherry Blossoms and Hydrangeas in Icing
Cherry blossoms and hydrangeas bring a sense of whimsy and charm to any dessert they adorn. Cherry blossoms can be achieved by piping clusters of tiny five-petal flowers in soft pastel hues, mimicking the delicate beauty of these spring blooms. Hydrangeas, with their clustered blooms, require careful piping of small, intricate flowers in a spherical shape to capture their essence.
Troubleshooting Common Issues
While creating royal icing flowers can be a rewarding experience, it’s not without its challenges. Here are some common issues you may encounter and how to address them:
Fixing Runny or Too Thick Icing
If your icing is too runny, add more confectioners’ sugar to thicken it. On the other hand, if it’s too thick, gradually add small amounts of water until it reaches the desired consistency. Remember to adjust the consistency gradually to avoid overshooting.
Addressing Piping Challenges
Piping can be tricky, especially when creating intricate designs. If you’re struggling with piping, practice on a practice surface or use stencils to guide your hand movements. With practice, your piping skills will improve, and you’ll be able to create stunning royal icing flowers.
Creating royal icing flowers is a skill that requires practice and patience. With the right tools, materials, and techniques, you can create stunning edible flower decorations that will impress everyone. So, gather your supplies and start exploring the beautiful world of royal icing flowers!
Choosing the Right Nozzles for Piping
One key aspect of successful piping is selecting the right nozzles for your royal icing flowers. Different nozzles create different effects, from delicate petals to intricate lace designs. Experiment with various nozzle sizes and shapes to discover the effects you like best for your creations.
Colouring Your Royal Icing
Adding colour to your royal icing can elevate your flower designs to the next level. Use gel food colouring for vibrant and consistent colours. Remember that royal icing dries a few shades darker, so opt for slightly lighter shades than your desired final colour. Mix colours carefully to achieve the perfect hue for your floral masterpieces.
For more cake decorating inspiration and tips, visit Bake Batter and Beyond. Happy decorating!

About the Author
Kaylene Grieve, a passionate baker and culinary educator, carries on a rich family legacy in the world of pastries and confections that began with her grandfather’s successful bakery. With over two decades of experience in business and marketing, Kaylene combines her baking heritage with digital expertise as the founder of Bake Batter & Beyond. This comprehensive baking resource reflects her mission to make the joy and science of baking accessible to all.
Dedicated to empowering both novice and experienced bakers, Kaylene’s website offers practical knowledge and tools including measurement converters, substitution guides, troubleshooting tips, and baking rescue techniques. Her special focus on the intricate world of cake making, coupled with her unique blend of family tradition and modern savvy, has established Kaylene as a trusted voice in the baking community.

0 Comments