

Making rock candy is a delicious science experiment that brings together the magic of crystal formation and the joy of creating your own sweet treats. Whether you’re a parent looking for an educational activity or simply someone who loves DIY projects, this guide will walk you through everything you need to know about making perfect rock candy at home.
What You’ll Need
- 2 cups granulated sugar
- 1 cup water
- Clean glass jar
- Pencil or stick
- String or wooden skewer
- Clothespin or clip
- Optional: Food coloring
- Optional: Flavor extracts
- Optional: Additional sugar for coating
Necessary Tools for Making Rock Candy
Before diving into the process of making rock candy, it’s fascinating to explore the history behind this beloved sweet treat. Rock candy has been enjoyed for centuries, with its origins dating back to ancient civilisations that used sugar crystals to sweeten their food and drinks. The intricate process of creating rock candy has been passed down through generations, making it a timeless and cherished confection.
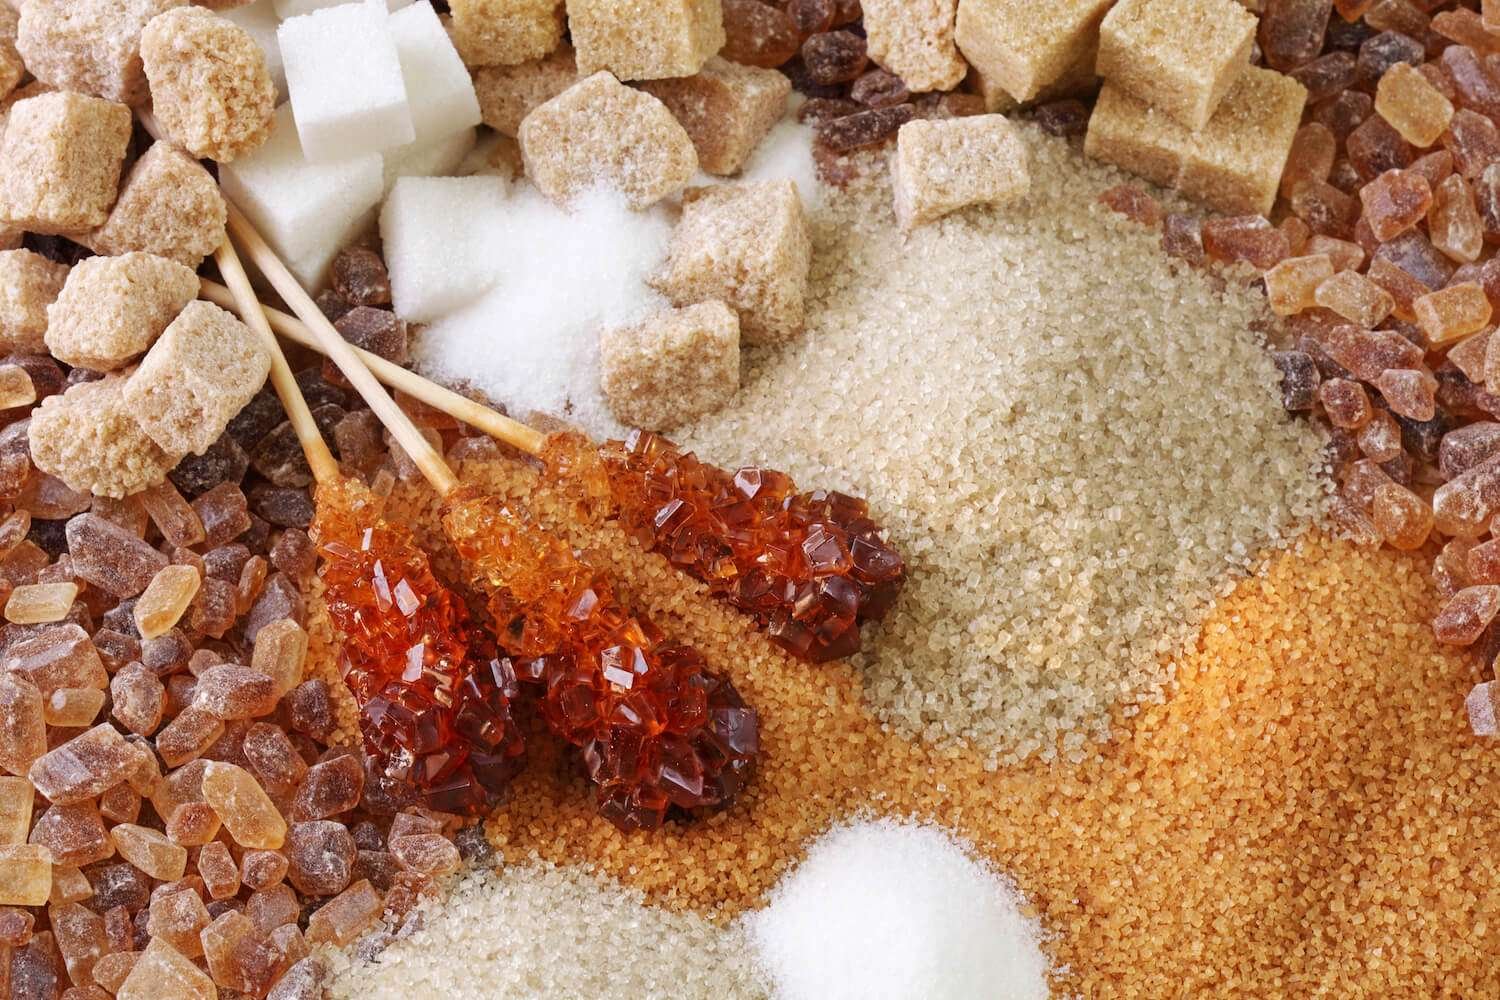
Choosing the Right Sugar
When making rock candy, it’s important to choose the right sugar. Most often, granulated sugar or cane sugar works best. Avoid using powdered sugar, as it contains anti-caking agents that may affect crystal formation.
Granulated sugar, also known as table sugar, is derived from either sugarcane or sugar beets and consists of fine, uniform crystals. Cane sugar, specifically, adds a depth of flavour to rock candy due to its molasses content. The choice of sugar can impact the texture and taste of the final product, so selecting high-quality sugar is key to achieving perfect rock candy crystals.
Essential Equipment for Candy Making
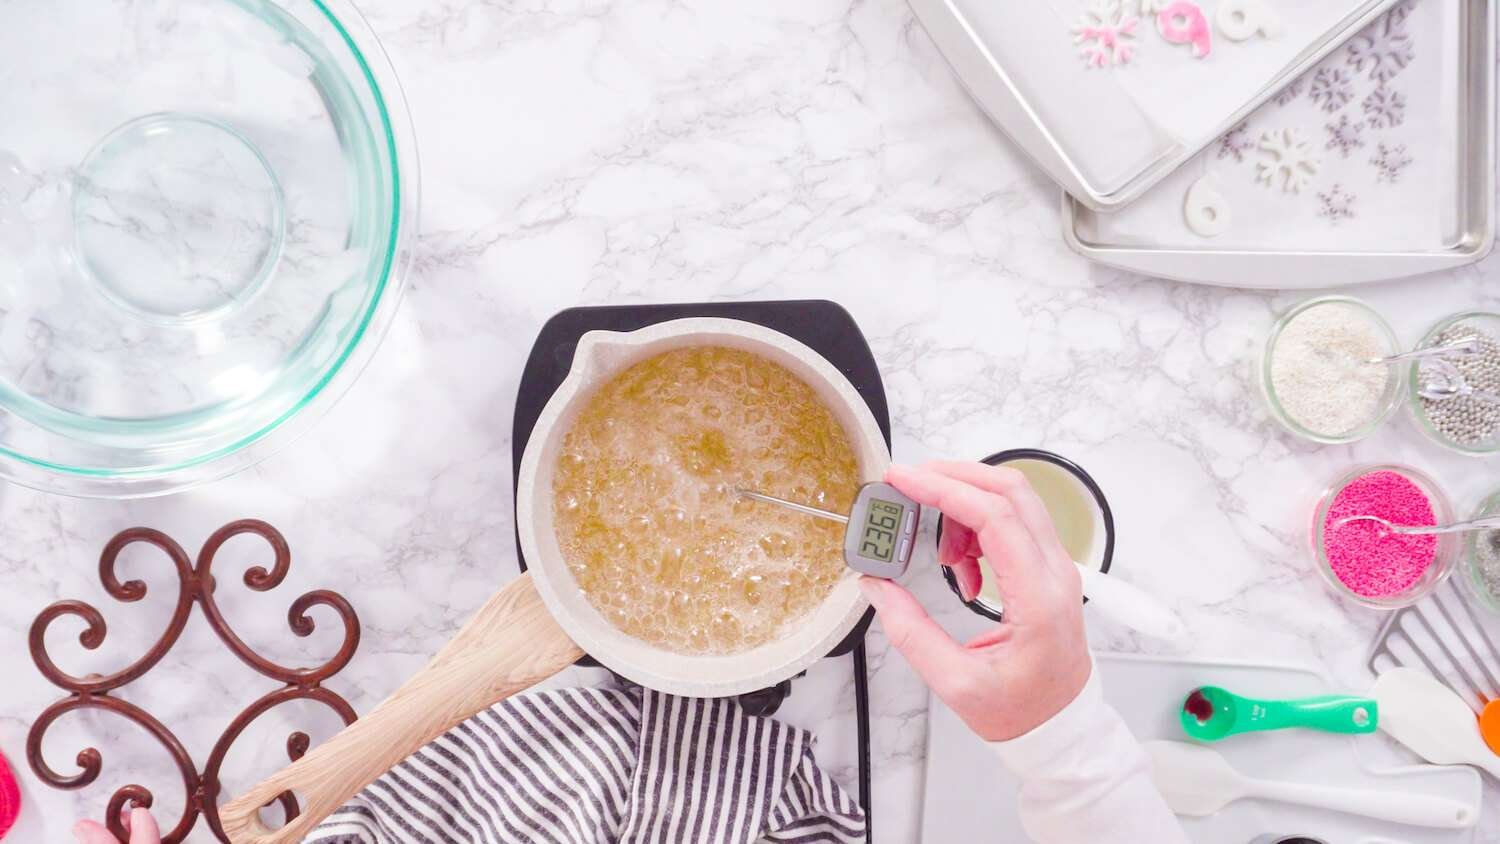
To make rock candy, you’ll need a few essential tools, including a large saucepan, a candy thermometer, string or sticks for hanging the crystals, and a heat-resistant container for the sugar solution. It’s crucial to have all the equipment ready before starting the candy-making process.
Aside from the basic tools, having a clean and organised workspace is essential for successful candy-making. Ensuring that all utensils are thoroughly cleaned and free from any contaminants will help prevent any unwanted crystallisation in the sugar solution. Additionally, using a candy thermometer with precise temperature control is vital for achieving the perfect consistency in the sugar syrup, leading to beautifully formed rock candy crystals.
Understanding the Science of Rock Candy
Before diving into the candy-making process, it’s essential to understand the science behind rock candy formation. The formation of rock candy involves the process of crystallisation. Crystallisation occurs when a supersaturated solution cools down, allowing sugar molecules to come together and form crystals. Two crucial factors that influence crystallisation in rock candy are the role of sugar and the importance of temperature and time.
Crystallisation is a fascinating process that occurs in nature as well as in the kitchen. When the sugar molecules in the solution start to arrange themselves in a repeating pattern, they form the beautiful crystalline structures that give rock candy its unique appearance. This process is not only visually appealing but also crucial for the texture and taste of the final product.
The Role of Sugar in Rock Candy Formation
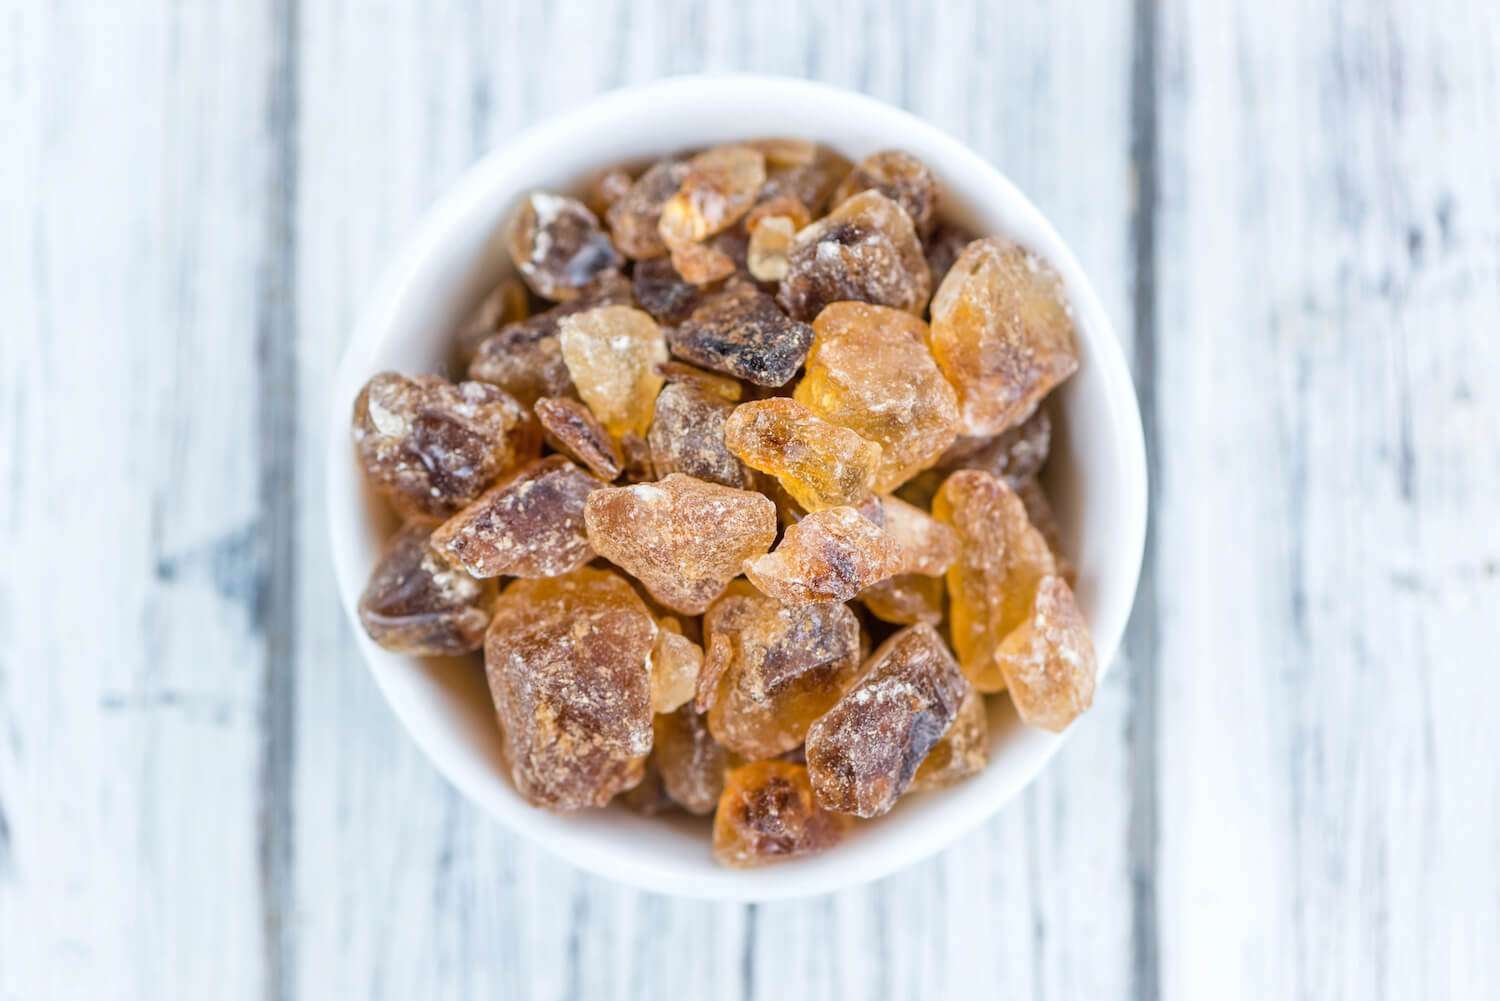
Sugar plays a vital role in rock candy formation. As the sugar dissolves in water, it creates a supersaturated solution. The more sugar you add, the more saturated the solution becomes, increasing the chances of crystal formation. It’s important to choose the right type of sugar to ensure successful crystal growth.
Not all sugars are created equal when it comes to making rock candy. While regular granulated sugar is commonly used, other types of sugars like brown sugar or even honey can be experimented with to create unique flavours and textures in rock candy. Each type of sugar has its own crystallisation properties, affecting the size and shape of the crystals formed.
The Importance of Temperature and Time
Temperature and time are critical factors that affect the growth of rock candy crystals. When the sugar solution is heated, it becomes more soluble, allowing more sugar to dissolve. As the solution cools down, the sugar molecules come together and form crystals. Giving the crystals enough time to grow ensures the development of larger, more defined rock candy crystals.
Controlling the temperature during the crystallisation process is key to achieving the desired crystal size and texture in rock candy. Rapid temperature changes can lead to small, irregular crystals, while slow and steady cooling promotes the growth of larger, more uniform crystals. Additionally, the duration of time the solution is left to crystallise plays a significant role in determining the outcome of the rock candy, with longer times often resulting in bigger and more well-defined crystals.
Step-by-Step Process to Make Rock Candy
Now, let’s dive into the step-by-step process of making rock candy. This section will guide you through preparing the sugar solution and growing beautiful rock candy crystals.
Preparing Your Sugar Solution
Start by preparing the sugar solution. In a large saucepan, combine water and sugar in a 1:1 ratio. Stir the mixture over medium heat until the sugar completely dissolves. It’s important to avoid boiling the solution, as it can affect crystal growth. Once the sugar is completely dissolved, remove the saucepan from heat and let it cool.
As the sugar solution cools, you may notice the formation of sugar crystals on the sides of the saucepan. These tiny crystals are the beginning stages of what will later become the larger rock candy crystals. The cooling process allows the sugar molecules to arrange themselves into a solid structure, laying the foundation for the crystallisation process to come.
Growing Your Rock Candy Crystals
Once the sugar solution has cooled down, it’s time to grow your rock candy crystals. Take the heat-resistant container and pour the sugar solution into it. Attach your string or sticks to a pencil or clothespin and suspend them into the container, making sure they don’t touch the sides or bottom. Place the container in a cool and undisturbed area, away from direct sunlight.
During the crystal growth period, you may observe changes in the solution’s appearance. Over time, the once clear liquid will transform as sugar molecules continue to join together and form larger crystal structures. The process is a beautiful display of molecular rearrangement, resulting in the formation of unique and intricate rock candy crystals.
Now comes the waiting game! Let the crystals grow for about a week or until you achieve the desired size. Regularly check on the crystals and remove any unwanted debris that may hinder crystal growth. Once the crystals have reached the desired size, carefully remove them from the container and enjoy your homemade rock candy!
Tips for Perfect Rock Candy
To ensure perfect rock candy every time, here are some useful tips to keep in mind:
Rock candy, a classic and beloved treat, is not only a sweet delight but also a fun science experiment that can be enjoyed by all ages. The process of making rock candy involves creating sugar crystals through a process called crystallisation. By following some simple tips and tricks, you can elevate your rock candy-making skills to new heights.
Avoiding Common Mistakes
When making rock candy, it’s common to encounter some challenges. One common mistake is stirring the sugar solution while it’s cooling, which can disrupt crystal growth. Avoid stirring and allow the crystals to form naturally. Additionally, ensure that the container is clean and free from any impurities that can affect crystal formation.
Another common mistake to avoid is rushing the cooling process. It’s essential to let the sugar solution cool gradually to encourage the formation of large, well-defined crystals. Patience is key when it comes to making the perfect batch of rock candy.
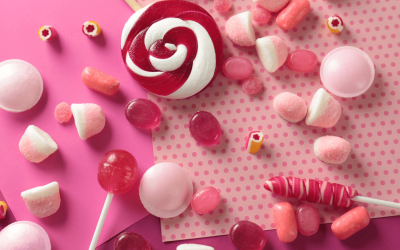
Enhancing the Flavor and Colour of Your Candy
If you’re feeling adventurous, you can experiment with different flavours and colours. Add flavour extracts, such as vanilla or fruit extracts, to the sugar solution before growing the crystals. To enhance the colour, consider adding food colouring to the solution. Be creative and let your taste buds explore!
Furthermore, consider incorporating natural ingredients like citrus zest or herbs to infuse unique flavours into your rock candy. The possibilities are endless when it comes to customising your homemade confectionery creations. Experiment with different combinations to discover your signature rock candy flavour profile.
Safety Measures While Making Rock Candy
Safety is crucial when making rock candy at home, as working with boiling sugar solutions can pose risks. Here are some key safety measures to ensure your candy-making experience is both enjoyable and safe.
Handling Hot Sugar Solutions
When making rock candy, it’s essential to take extra precautions when handling the hot sugar solution, as it can cause serious burns if mishandled. Boiling sugar reaches high temperatures, so using oven mitts or heat-resistant gloves is highly recommended whenever you’re pouring or stirring the solution. Additionally, try to keep children and pets at a safe distance from the stove and workspace, as hot sugar can splatter unexpectedly. Standing a safe distance from the boiling mixture while stirring or pouring can also help avoid accidental burns or spills.
Safe Storage of Rock Candy
After successfully making rock candy, proper storage is necessary to maintain its quality. Once your candy crystals have fully grown and hardened, store them in a cool, dry area to avoid melting or developing a sticky surface due to humidity. For optimal freshness, wrap individual rock candy crystals in wax paper before placing them in an airtight container. This method helps preserve the crunchy texture and prevents moisture from affecting the candy’s quality. Proper storage not only keeps your rock candy fresh but also extends its shelf life, so you can enjoy your homemade treats for longer.
Now that you’re equipped with safety tips and all the essential steps for making rock candy, it’s time to dive into the process! Creating rock candy is a fun and rewarding experiment that combines science and sweet indulgence. Explore different flavours and colours as you watch the crystal growth process unfold. Making rock candy is a wonderful way to share homemade treats with family and friends while also enjoying the creativity involved. So gather your materials, follow these safety precautions, and enjoy the delicious outcome of your rock candy-making adventure!
For more delightful baking tips and tricks, visit Bake, Batter, and Beyond. Unleash your inner baker today!

About the Author
Kaylene Grieve, a passionate baker and culinary educator, carries on a rich family legacy in the world of pastries and confections that began with her grandfather’s successful bakery. With over two decades of experience in business and marketing, Kaylene combines her baking heritage with digital expertise as the founder of Bake Batter & Beyond. This comprehensive baking resource reflects her mission to make the joy and science of baking accessible to all.
Dedicated to empowering both novice and experienced bakers, Kaylene’s website offers practical knowledge and tools including measurement converters, substitution guides, troubleshooting tips, and baking rescue techniques. Her special focus on the intricate world of cake making, coupled with her unique blend of family tradition and modern savvy, has established Kaylene as a trusted voice in the baking community.

0 Comments