

Transform Your Cakes with Essential Cake Decorating Tips
Want to transform your ordinary cakes into stunning masterpieces? Whether you’re a beginner or looking to refine your skills, these cake decorating tips will help you create professional-looking results right in your home kitchen. By incorporating these techniques and tools, you’ll be well on your way to impressing friends and family with your cake decorating prowess.
Essential Tools to Get Started
Before diving into techniques, it’s crucial to ensure you have the right tools in your arsenal to facilitate your cake decorating journey. Here are some must-have items that align with effective cake decorating tips:
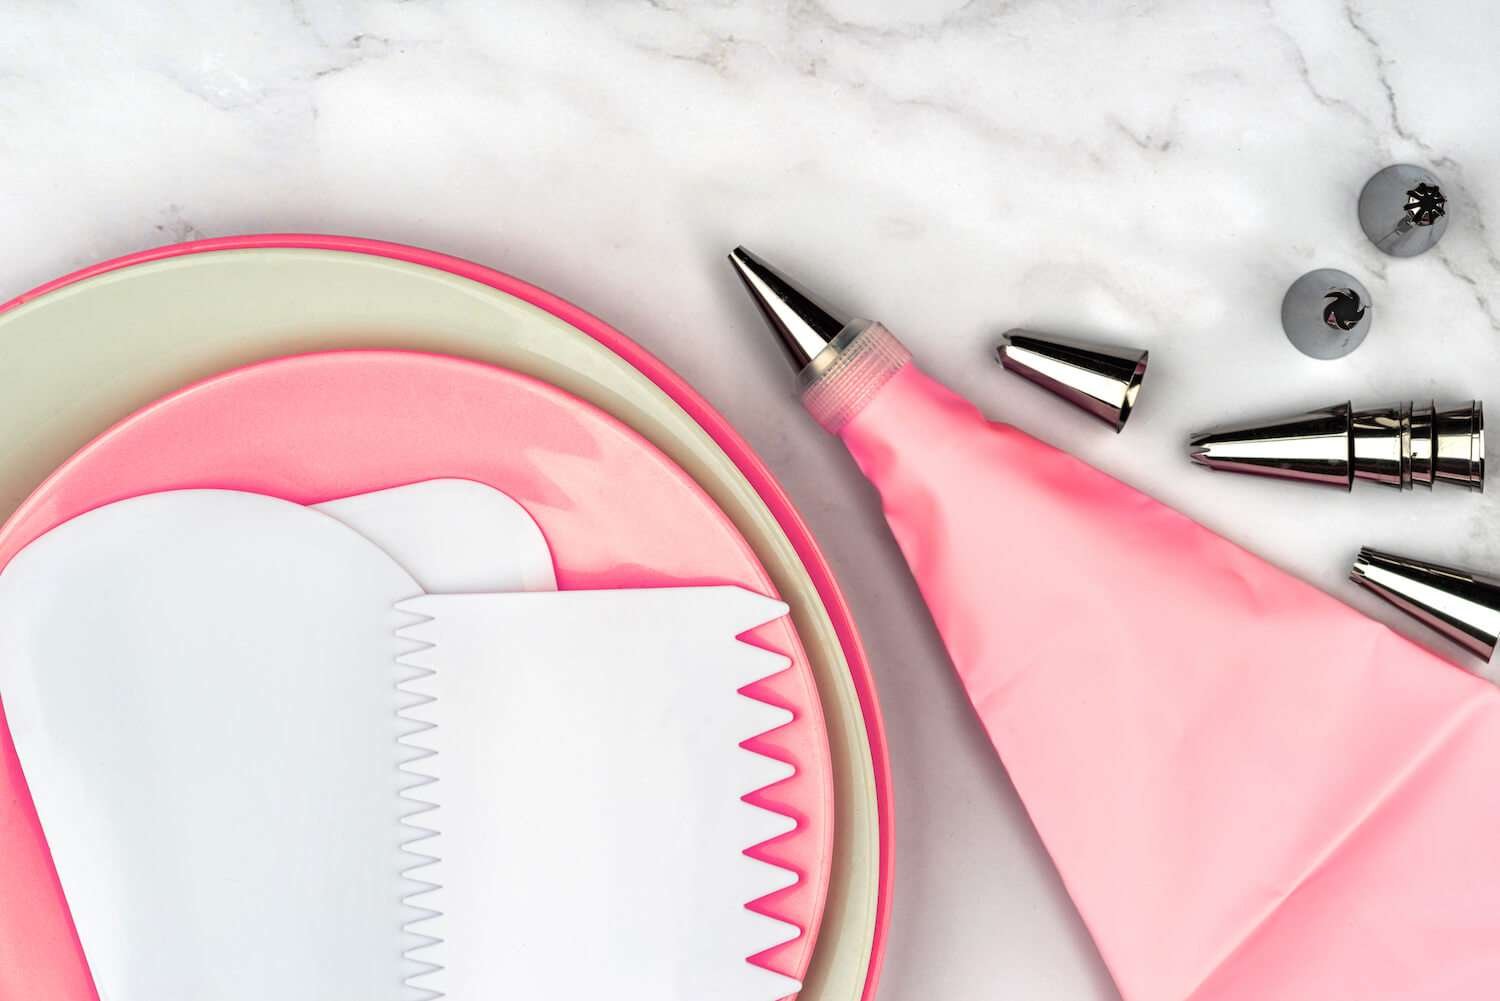
- Offset Spatula for Smooth Frosting: This tool is essential for spreading frosting evenly and achieving that perfect finish. It allows you to control the thickness of your frosting and create a professional look.
- Piping Bags and Basic Tip Set: These are indispensable for any baker. A variety of piping tips will enable you to create beautiful decorations, from intricate designs to simple borders. Investing in quality bags will make piping easier and more efficient.
- Bench Scraper for Clean Edges: A bench scraper is invaluable for achieving smooth sides on your cakes. It helps in creating clean edges and is also useful for transferring cakes without damaging them.
- Turntable for Easy Decorating: Using a turntable allows you to rotate your cake easily while you decorate, ensuring an even application of frosting and decorations. This tool is a game-changer when it comes to precision.
- Cake Boards: These provide a sturdy base for your cake, making it easier to move and present. They also help protect your surfaces from frosting and crumbs.
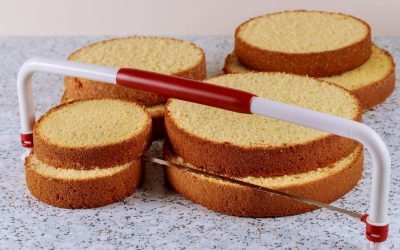
- Sharp Serrated Knife: A sharp serrated knife is essential for levelling your cakes and cutting them into layers. It ensures a clean cut, which is vital for professional-looking results.
Basic Techniques for Perfect Results
Level and Prep Your Cake
The foundation of a beautifully decorated cake starts with proper preparation, and these cake decorating tips will guide you through the process:
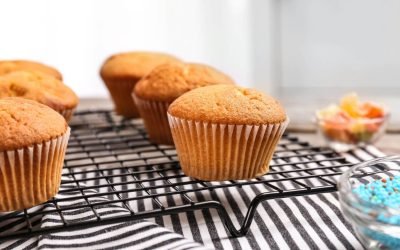
- Allow Your Cake to Cool Completely: This step is crucial to prevent your frosting from melting. A cool cake will hold up better during the decorating process.
- Use a Serrated Knife to Level the Top: This ensures that your cake layers are even, which is vital for stacking and decorating.
- Brush Away Loose Crumbs: After leveling, gently brush away any crumbs to create a clean surface for your frosting.
- Apply a Thin Crumb Coat of Frosting: This initial layer helps to seal in crumbs and creates a smooth base for your final layer of frosting.
- Chill for 15-20 Minutes Before Final Coating: Chilling your cake sets the crumb coat and makes applying the final layer easier and more effective.
Master the Smooth Frosting Technique
Creating that coveted smooth finish requires attention to detail, and these cake decorating tips can help:
- Start with Room Temperature Frosting: Room temperature frosting spreads more easily and smoothly than cold frosting.
- Apply a Generous Layer on Top and Sides: Don’t skimp on frosting; a thick layer allows for better smoothing.
- Hold Your Bench Scraper Vertically Against the Cake: This technique helps maintain even pressure while smoothing out the frosting.
- Rotate the Turntable Slowly While Keeping the Scraper Steady: This will help you create a uniform surface around your cake.
- Clean Your Scraper Between Swipes: Keeping your scraper clean prevents crumbs from mixing into your frosting, resulting in a smoother finish.
Pro Tip: Warm your metal scraper in hot water and dry it for extra-smooth results. This little trick can make a big difference in the final appearance of your cake.
Basic Piping Skills
Start with these essential piping techniques to enhance your cake decorating repertoire:
- Dots: To create dots, hold the bag at a 90-degree angle, squeeze the bag gently, and release pressure while pulling up to create a perfect dot.
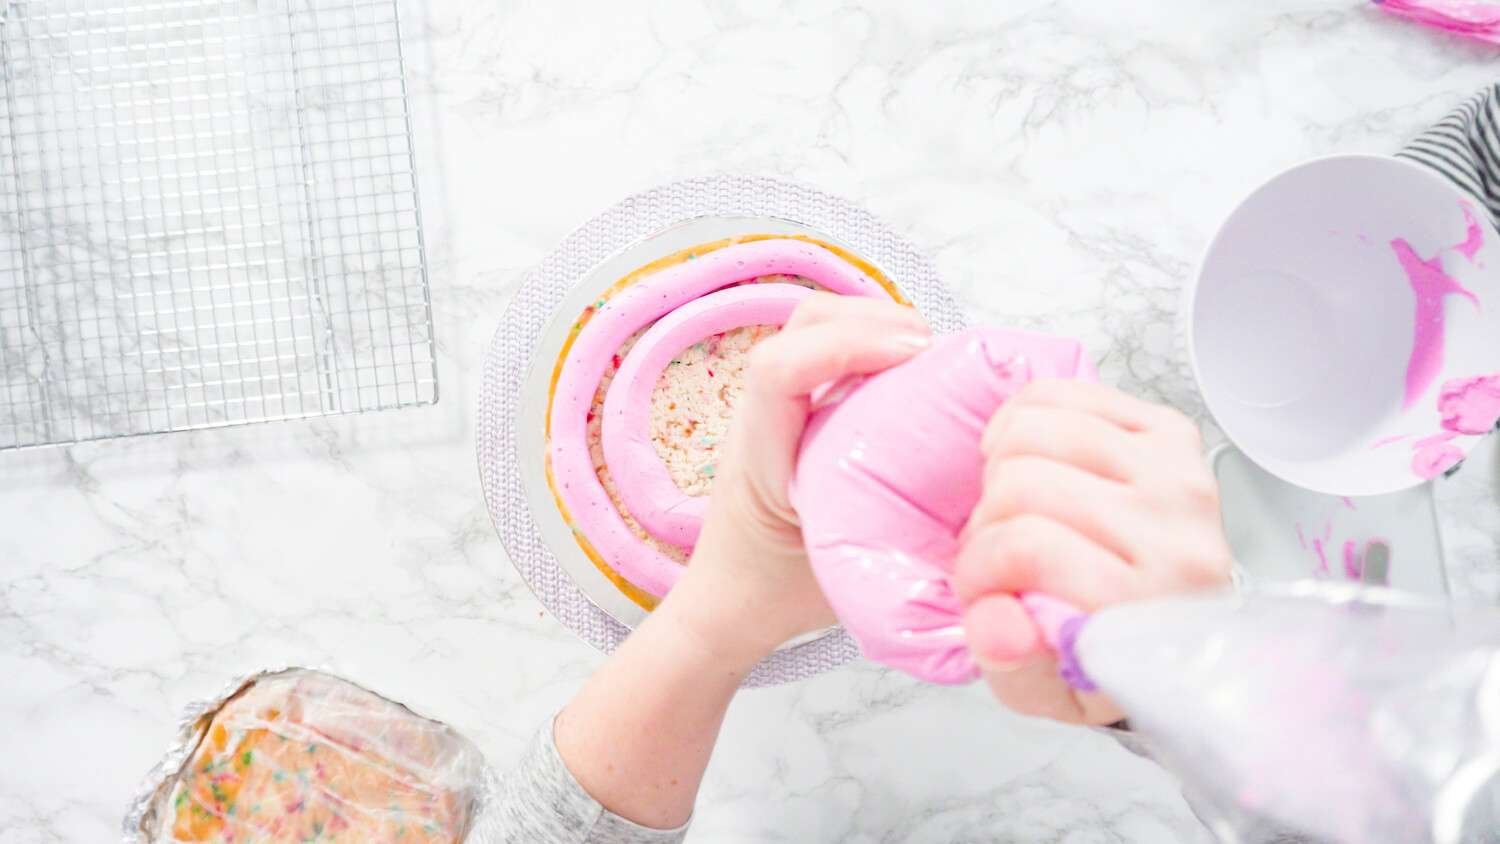
- Rosettes: Begin in the centre of your desired area, piping in a spiral motion moving outward. This technique is great for creating beautiful, floral designs.
- Shells: For shells, squeeze, pull, and release in a fluid motion to create a series of decorative shells along the edge of your cake.
- Lines: Maintain consistent pressure while moving your piping bag steadily to create straight lines. This is an excellent technique for adding borders and other design elements.
Common Mistakes to Avoid
To help you navigate the world of cake decorating successfully, here are some common pitfalls and cake decorating tips to avoid:
- Working with Warm Cake: Always ensure your cake is completely cool before decorating. Warm cake can lead to melting frosting and messy results.
- Skipping the Crumb Coat: This step is crucial for a clean finish. Skipping it can result in a crumbly appearance.
- Using Stiff Frosting: Frosting that is too stiff can be difficult to spread and may result in an uneven finish. Adjust the consistency with a bit of milk or cream if necessary.
- Overfilling Piping Bags: Filling your bags too full can make them difficult to control. Keep them about two-thirds full for the best results.
- Rushing the Chilling Process: Allowing your cake to chill properly is vital for achieving smooth frosting and clean decorations.
Advanced Tips for Better Results
Once you’ve mastered the basics, consider these advanced cake decorating tips to elevate your skills:
- Keep a Cup of Hot Water Nearby: Dipping your tools in hot water can help achieve smoother finishes and cleaner edges.
- Use a Piece of Parchment Paper Under the Cake Edges: This will help keep your cake board clean during decorating, allowing for a more polished presentation.
- Chill Your Cake Between Steps: This technique helps to set your decorations, making it easier to achieve precision in your designs.
- Mix Piping Consistencies for Different Effects: Different effects can be achieved by varying the thickness of your frosting, allowing for creative expressions in your designs.
- Practice New Techniques on Parchment Paper: Before applying techniques to your cake, practice on parchment paper to perfect your skills.
Key Takeaways
- Kickstart your cake decorating by stocking up key tools like a variety of piping tips, reusable bags, an offset spatula, and a turntable, and practice makes perfect with techniques like levelling, crumb coating, and achieving buttercream consistency. (Amazon)
- The secret behind delightful decorations lies not just in the techniques but also in frosting consistency. Remember, too stiff makes it hard to spread, too runny might lead to a frosting mess, and the right tools and techniques can take your cakes from good to great.
- Create stunning buttercream flowers and elegant cake finishes by mastering specialised piping tips and finishing touches like marzipan cutouts, cake balls, and theme-complementing toppers, keeping in mind correct storage and transport to maintain their beauty.
Essential Cake Decorating Toolkit
Venturing into the world of cake decorating is like stepping into a painter’s studio; your canvas is the cake, and your brushes are the tools of the trade. It all starts with building your arsenal.
A trusty offset spatula will become your best friend for spreading buttercream frosting with precision, while the turntable allows you to rotate your cake with ease, ensuring each swirl and swoop of frosting is applied with the grace of a ballerina. These quality tools don’t just make the job easier; they are the paintbrushes you’ll use to turn your cake from a blank canvas into a breathtaking masterpiece.
But what’s a painter without their palette? In the next section, let’s dive into cake decorating tips for creating the perfect canvas for your edible art.
Cake Decorating Tips: Creating the Perfect Canvas by Prepping Your Cake Layers with Essential Tools
Before the flourish of decorations can take shape, the canvas—your cake layers—must be impeccably prepared. It’s crucial to level uneven layers using essential cake decorating tools like a cake leveller or a serrated knife to achieve that flat, even surface ideal for stacking. Patience is key here, as chilled layers are less likely to crumble, making it essential to cool them thoroughly in the freezer.
Next comes the crumb coat—a thin layer of frosting that acts like a primer, ensuring any loose crumbs are captured so your final layer of buttercream will be as smooth as silk. A brief stay in the refrigerator or freezer sets the crumb coat, providing a solid foundation for the additional layers of buttercream and decorations. For those seeking perfection, using a cake scraper and acrylic discs—both vital cake decorating tools—will help you achieve those coveted sharp edges and smooth sides that are the hallmarks of a professionally finished cake.
With the perfect canvas ready, it’s time to explore the nuances of frosting, where consistency is king and the secret to those mesmerising textures lies.
Frosting Consistency Matters
Imagine a sculptor without their clay at the perfect malleability; the same goes for a cake decorator without buttercream of the ideal consistency. It’s the cornerstone of cake decorating, where too thick means difficult to spread, and frosting too thin might lead to a frosting avalanche or too much icing. A perfect buttercream not only tantalises the taste buds but also maintains its composure under the pressure of a piping bag.)
If you find yourself with a frosting that’s too stiff or too runny, fear not; a sprinkle of powdered sugar or a dash of milk can bring your buttercream back to that sweet spot.
But consistency is more than just the texture; the ratio of butter to shortening, for instance, can make or break the stability and flavour of your frosting. And for those moments when you seek utter smoothness, remember that hot water can be a secret weapon over milk or heavy cream. Even the mixing technique matters—opt for the paddle attachment and a lower speed to minimise air bubbles for that coveted silky smoothness.
Now, let’s pipe down and focus on the artistry of piping, where the magic of buttercream truly comes to life in the hands of the creator.
Cake Decorating Tips: The Art of Piping and Mastering Basic Techniques
Piping is the brushstroke of cake decorating, a technique that requires both a steady hand and an understanding of the tools at your disposal. To ensure you have enough buttercream for practice and the final masterpiece, whip up an extra 50% beyond what your recipe calls for.
Here are some cake decorating tips and piping techniques you can try:
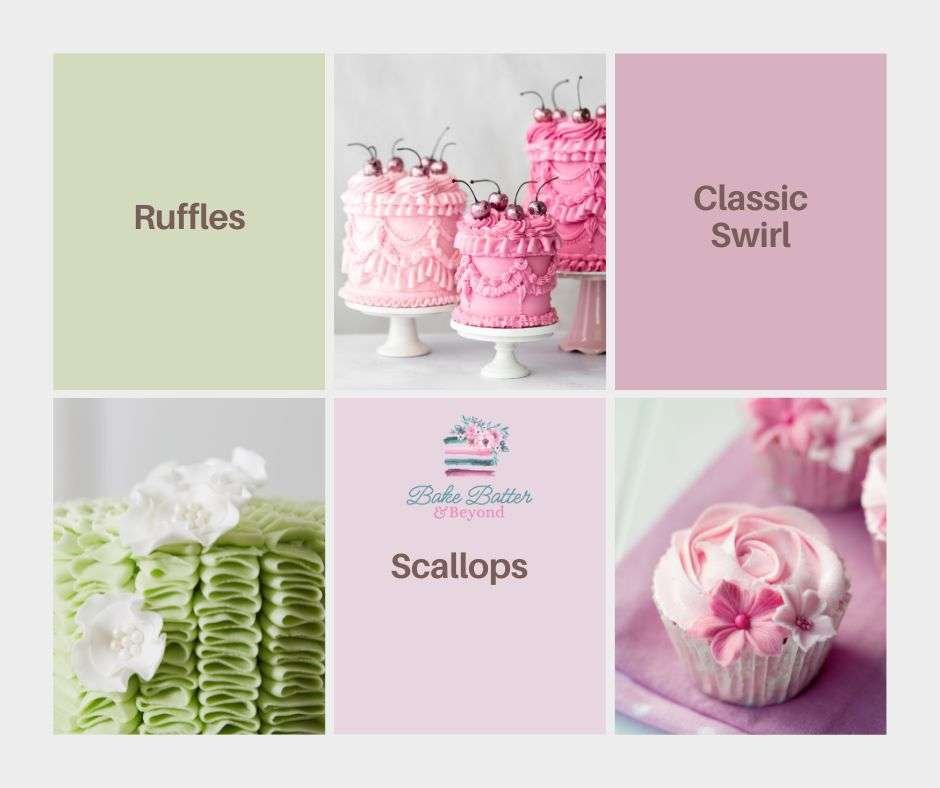
- Classic Swirl: From the centre of a cupcake, create a slow, upward swirl motion with a piping bag fitted with a star tip to create a simple yet elegant effect.
- Ruffles: Achieve ruffles by using a press, lift, and push motion with the piping tip.
- Scallops: Create scallops by using a press, lift, and push motion with the piping tip.
Get creative and experiment with different piping techniques as you start decorating cakes, adding beautiful designs to your cakes and cupcakes.
Different piping tips serve as essential cake decorating tools that unlock new realms of creativity. Here are some cake decorating tips with examples:
The French Star Tip: This is your go-to for creating deep-grooved stars and luxurious swirls that add elegance to any cake.
A Smaller Round Tip: Perfect for writing heartfelt messages or crafting tight, small swirls, this versatile tool helps you personalize your cakes.
A Jumbo Open Round Tip: Great for covering larger expanses of cake or filling layer cakes, this tip makes quick work of frosting large areas.
When precision is paramount, remember to keep your piping tip perpendicular to the cake surface for those delicate star decorations.
With these cake decorating tips under your belt, it’s time to step into the world of advanced decorating. Let’s enhance your skills further with buttercream flowers, where your piping finesse will bring forth beautiful blooms.
Advanced Decorating: Crafting Buttercream Flowers
The creation of buttercream flowers is a delicate dance between tip and turn, where petal and leaf tips become the paintbrushes for your blooming confections. These specialized cake decorating tools enable you to pipe a myriad of floral designs, transforming the tops and sides of your cake into a verdant garden of edible delights.
As you craft each flower, from the simplest daisy to the most elaborate rose, remember that practice makes perfect. Your initial attempts may resemble abstract art, but perseverance will lead to petals that could make Mother Nature herself take a second look.
With your garden of buttercream flowers in full bloom, it’s time to add the finishing touches that will elevate your cake from beautiful to breathtaking. Let’s incorporate those final flourishes that will make your cake a true showstopper.
Finishing Touches: Adding Elegance to Your Cake
As any artist knows, it’s the final strokes that bring a masterpiece to life. For cakes, these finishing touches are the difference between a delightful dessert and a grand gastronomic spectacle. Imagine the sophistication a three-layer entire cake brings to the table, each layer a testament to your skill and dedication. Playfulness can be introduced with marzipan cutouts, edible glitter or stunning sprinkles (Amazon) captivating the imagination and eliciting joy with each whimsical shape.
Who says cakes can’t have accessories? Adorning your creation with cake balls (Amazon) adds an unexpected visual element, while a sprinkle of delicate petals invites the eye to linger. And for that crowning glory, select a cake topper that complements your theme, serving as the pièce de resistance atop your edible masterpiece. Whether it’s fresh flowers or frosting-made, these additions contribute significantly to the cake’s final, elegant presentation.
Now that your cake is dressed to impress, let’s ensure it stays that way. The next step is crucial for any cake decorator: understanding how to properly store and transport your decorated cakes to keep them looking as good as the moment you finished them.
Storing and Transporting Decorated Cakes
The journey of your cake from the kitchen to display isn’t complete without proper storage and transportation, especially when it comes to implementing the right cake decorating tips and tools. At room temperature, a decorated cake can stay at its best for up to three days, as long as the environment isn’t too warm and the cake doesn’t contain perishable fillings like fresh fruit or whipped cream. For cakes that require refrigeration, allow the icing to set uncovered before wrapping it snugly in plastic wrap to preserve its appearance.
Once a cake is cut, it becomes vulnerable. Covering the exposed edges with plastic wrap helps shield it from the air, retaining its moisture and flavour for a few more delightful days. For those intricate buttercream flowers, placing them in the freezer on parchment paper will ensure they maintain their shape when it’s time to adorn the cake.
With your cake now secure and ready for its grand entrance, it’s time to address any potential bumps in the road. Even the most seasoned bakers encounter challenges, so let’s whisk through some common difficulties and how to overcome them using effective cake decorating tips and tools for a flawless finish.
Summary
We’ve whisked through the essential cake decorating tips that turn a simple bake into a work of art. Remember, every cake is a blank canvas awaiting your creativity, and with patience and practice, you can create confections that captivate and delight.
Let your kitchen be your studio and your cakes the masterpieces that tell the story of your baking journey. Embrace each challenge as an opportunity to grow, and each cake as a canvas to showcase your evolving artistry. Now, go forth and bake the world a more beautiful place, one cake at a time!
Frequently Asked Questions
What’s the best way to ensure my buttercream flowers hold their shape?
The best way to ensure your buttercream flowers hold their shape is to pipe them onto parchment paper and then freeze them. This will help them maintain their shape and detail when placed on the cake.
Can I leave my decorated cake at room temperature?
Yes, as long as your room isn’t too warm and your cake doesn’t contain perishable fillings, you can leave it at room temperature for up to three days.
How can I prevent my cake from drying out after cutting it?
To prevent your cake from drying out after cutting it, cover the cut edges with frosting or plastic wrap. This will help seal in moisture and keep the cake fresh for a few more days.
What should I do if my buttercream is too thin or too stiff?
If your buttercream is too thin, add more powdered sugar to stiffen it. If it’s too stiff, add a bit of milk to soften it. Adjust the consistency based on your desired result.
How can I prevent air bubbles in my buttercream frosting?
To prevent air bubbles in your buttercream frosting, mix the buttercream at a low to medium speed using the paddle attachment. This will minimise air incorporation, resulting in a smoother texture.
For more helpful cake decorating tips, visit Bake, Batter, and Beyond to take your cake decorating skills to the next level!

About the Author
Kaylene Grieve, a passionate baker and culinary educator, carries on a rich family legacy in the world of pastries and confections that began with her grandfather’s successful bakery. With over two decades of experience in business and marketing, Kaylene combines her baking heritage with digital expertise as the founder of Bake Batter & Beyond. This comprehensive baking resource reflects her mission to make the joy and science of baking accessible to all.
Dedicated to empowering both novice and experienced bakers, Kaylene’s website offers practical knowledge and tools including measurement converters, substitution guides, troubleshooting tips, and baking rescue techniques. Her special focus on the intricate world of cake making, coupled with her unique blend of family tradition and modern savvy, has established Kaylene as a trusted voice in the baking community.

0 Comments