

Are you ready to dive into the rewarding world of bread making? Whether you’re a complete beginner or looking to upgrade your existing equipment, having the right tools can make all the difference in your bread baking journey. Let’s explore the essential bread making tools you’ll need, from basic necessities to nice-to-have items, complete with recommendations for every budget.
Understanding the Basics of Bread Making
Before diving into the tools, it’s important to have a basic understanding of the bread making process. Bread making is a combination of science and art, as it involves the interaction of yeast, flour, water, and other ingredients. The science behind bread making involves the fermentation of yeast, which produces carbon dioxide gas that causes the dough to rise. Additionally, gluten formation and dough development are crucial factors that contribute to the texture and structure of the bread.
The Science Behind Bread Making
Yeast is a living organism that feeds on sugars and produces carbon dioxide as a byproduct. This gas gets trapped within the dough, causing it to rise. As the bread bakes, the yeast dies and the carbon dioxide expands further, creating airy pockets in the bread. Understanding the fermentation process and how yeast interacts with other ingredients is essential for creating a well-risen loaf.
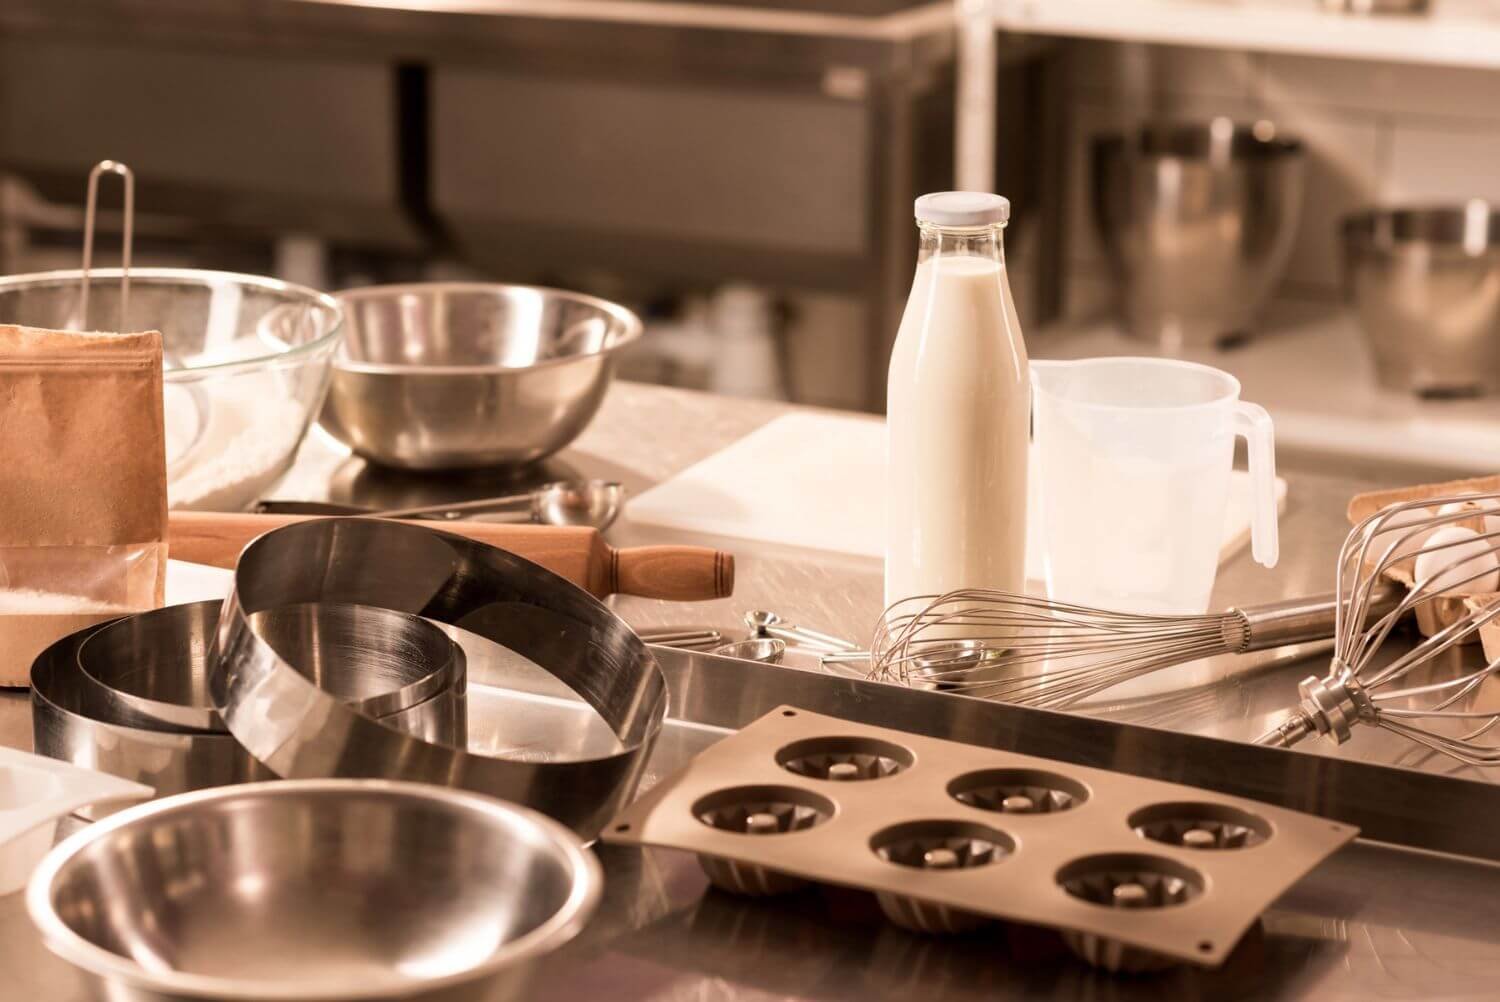
Essential Bread Making Tools: Must-Have Equipment for Bakers
1. Mixing Bowls ($10-$50)
Every bread maker needs at least one large, sturdy mixing bowl. Look for:
- Stainless steel or glass material
- At least 5-quart capacity
- Wide rim for easy handling
- Lightweight yet durable construction
Our Pick: The OXO Good Grips Stainless Steel Mixing Bowl set offers excellent value with three sizes perfect for bread making.
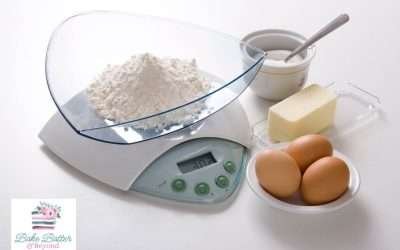
2. Digital Kitchen Scale ($15-$40)
Precise measurements are crucial for consistent results. Key features:
- Accuracy to 1 gram
- Easy-to-read display
- Tare function
- Battery-powered for reliability
Budget Choice: Greater Goods Digital Kitchen Scale Premium Option: OXO Precision Scale
3. Measuring Cups and Spoons ($8-$25)
While a scale is preferred, having these on hand is still useful:
- Complete set of both dry and liquid measures
- Stainless steel construction
- Clear markings that won’t wear off
- Dishwasher safe
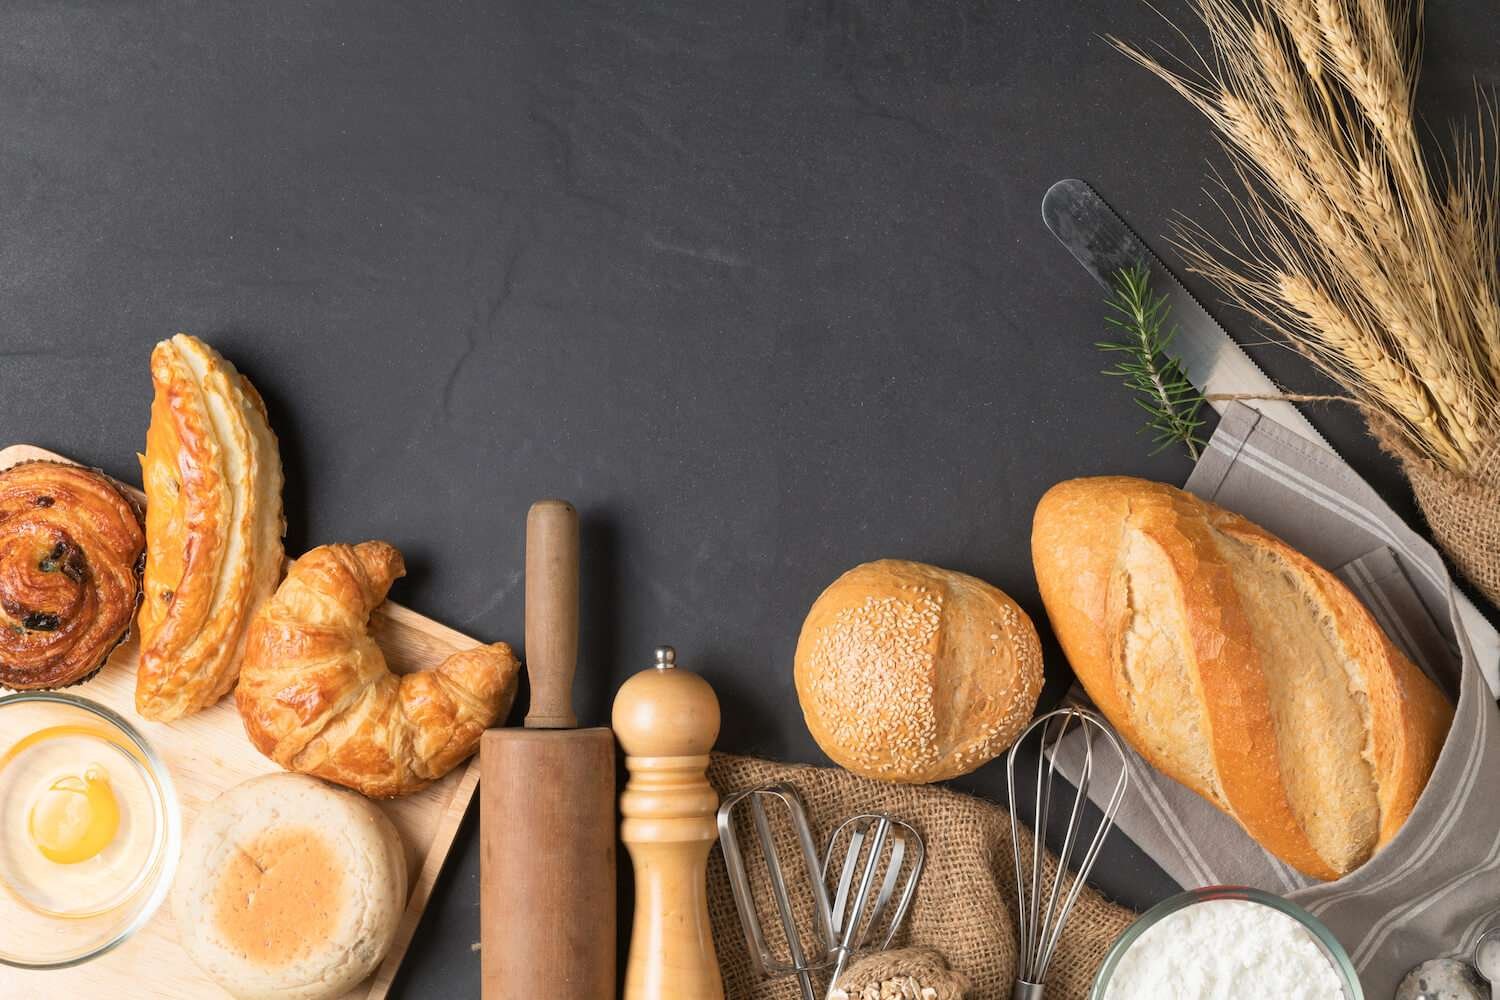
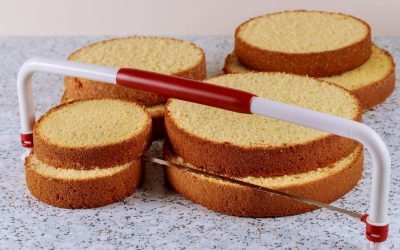
4. Bench Scraper ($5-$15)
This versatile tool is a baker’s best friend:
- Use for dividing dough
- Cleaning work surfaces
- Transferring ingredients
- Shaping bread
Intermediate Equipment
5. Dutch Oven ($50-$300)
Essential for achieving that professional-quality crust:
- 5-6 quart size
- Enameled or plain cast iron
- Oven safe to 450°F
- Heavy-duty construction
Budget Option: Lodge Cast Iron Dutch Oven Investment Pick: Le Creuset Round Dutch Oven
6. Proofing Basket ($15-$30)
Also known as a banneton:
- Natural rattan construction
- 8-10 inch size for standard loaves
- Includes linen liner
- Creates beautiful spiral patterns
7. Scoring Lame ($10-$25)
For those beautiful bread designs:
- Replaceable razor blades
- Comfortable handle
- Storage case included
- Easy blade changing mechanism
Advanced Bread Making Tools (Nice-to-Have)
8. Stand Mixer ($200-$500)
For frequent bakers:
- Powerful motor (325+ watts)
- Large capacity bowl
- Dough hook included
- Reliable brand warranty
Note: While convenient, this isn’t necessary for great bread. Many bakers prefer hand kneading for better dough feel.
9. Dough Whisk ($8-$20)
Perfect for mixing wet doughs:
- Stainless steel construction
- Wooden or ergonomic handle
- Dishwasher safe head
- Reduces hand fatigue
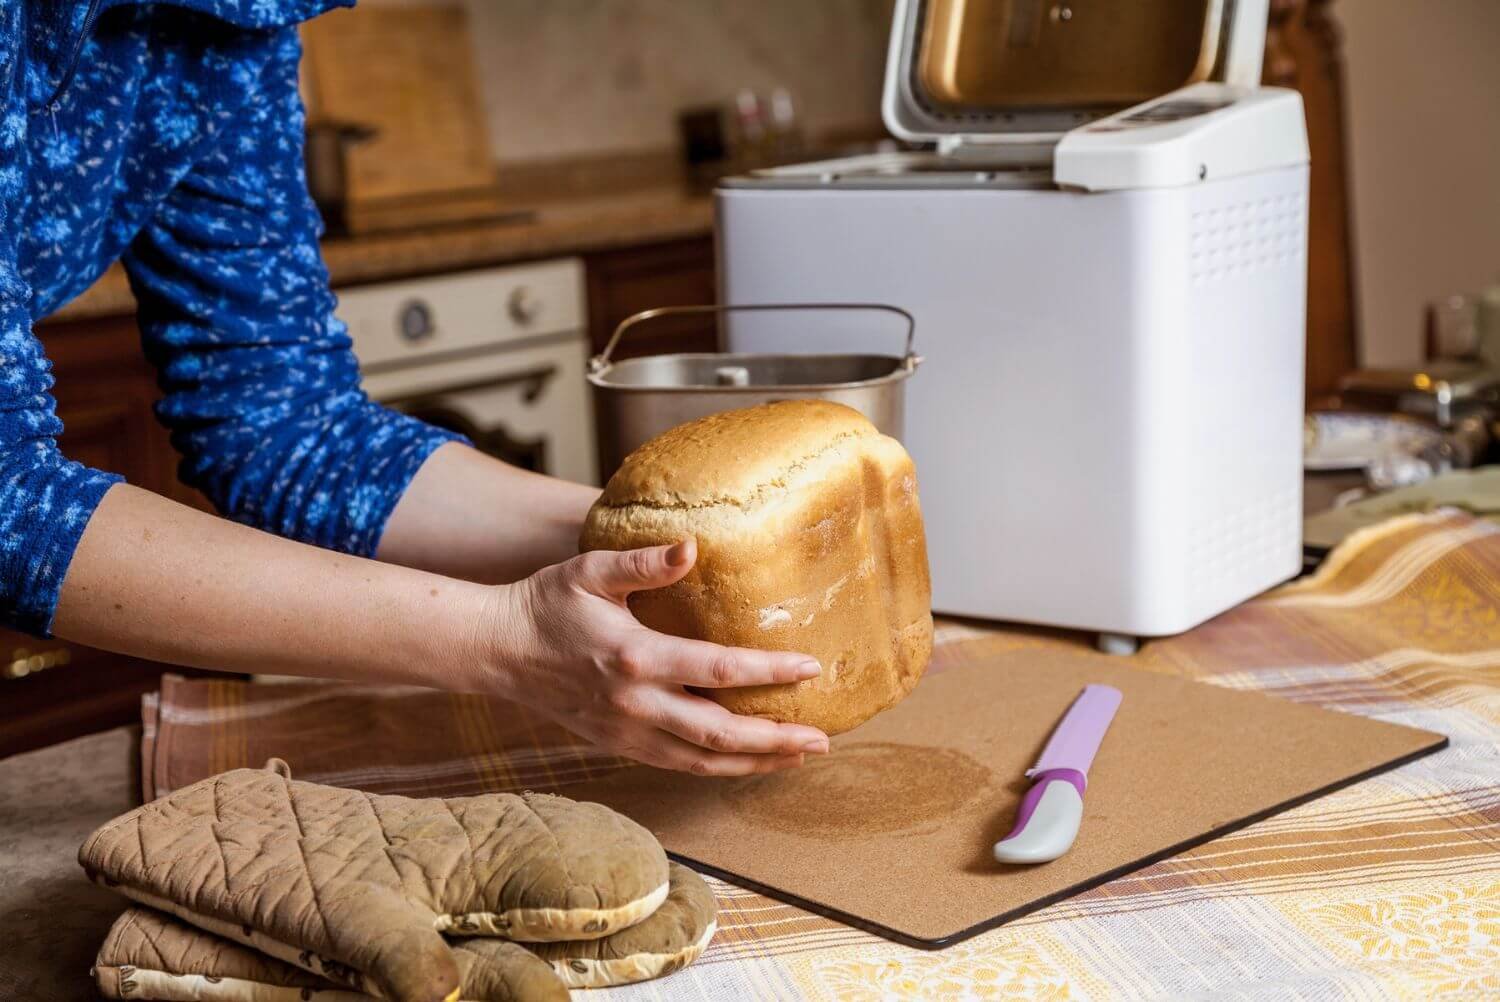
Choosing the Right Bread Maker
If you’re looking for convenience and consistency, bread making tools like a bread maker can be invaluable. These machines automate the bread-making process, from mixing and kneading the dough to baking the loaf. When selecting a bread maker, consider factors such as size, programmable settings, and durability. Look for a model that suits your specific needs and preferences.
But let’s delve deeper into the world of bread makers. Did you know that some of these bread making tools come with a delay start feature? This allows you to set the machine to begin baking at a specific time, so you can wake up to the delightful aroma of freshly baked bread. Imagine the joy of having a warm loaf ready and waiting in the morning!
Additionally, advanced bread makers offer a variety of settings to experiment with different types of bread. From whole wheat to gluten-free, you can explore a range of flavours and textures. So, if you’re a bread enthusiast who loves trying new recipes, investing in versatile bread making tools like a bread maker might be the perfect addition to your kitchen.
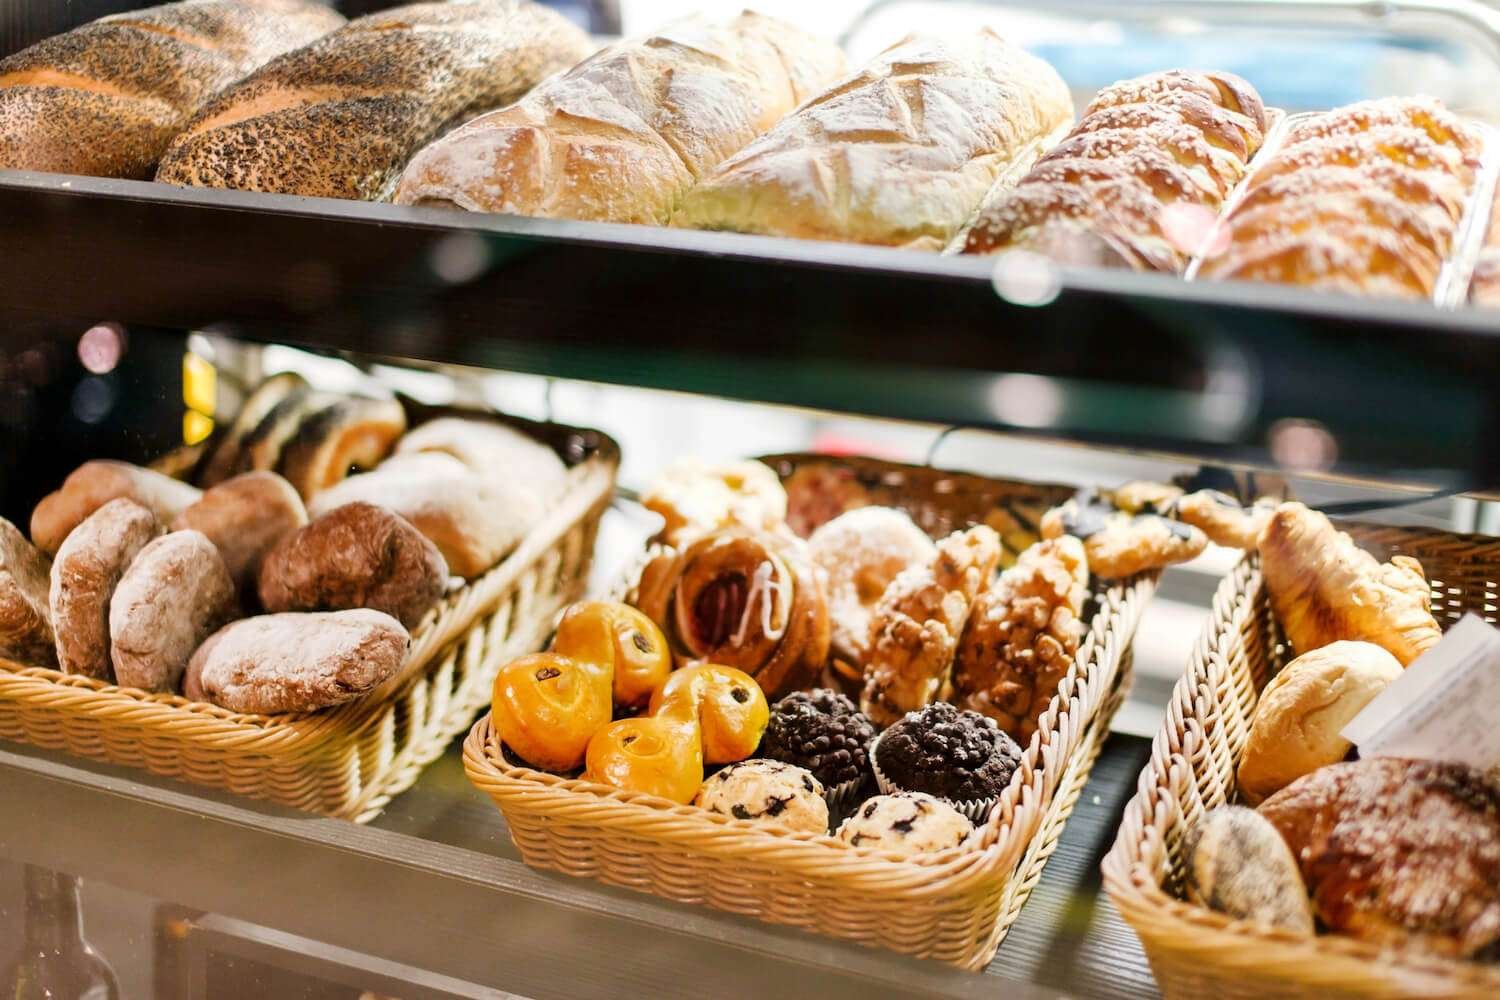
Importance of Quality Baking Pans
Baking pans are essential bread making tools that shape and bake your bread to perfection. Opt for high-quality pans that ensure even heat distribution and offer a non-stick surface. It’s important to select pans that are the right size for the type of bread you’re making. Additionally, consider investing in pans with lids, such as Dutch ovens or covered loaf pans, as they create a moist baking environment, enhancing crust development.
Let’s take a moment to highlight the magic of Dutch ovens. These versatile bread making tools are perfect for artisan bread, thanks to their heavy cast iron construction, which retains heat exceptionally well. The lid traps steam during baking, creating a beautiful, golden crust with a soft and chewy interior. If you love rustic, crusty loaves, a Dutch oven is a must-have in your bread-making toolkit.
Additionally, experimenting with different shapes and sizes of pans, from traditional loaf pans to round banneton baskets, adds a unique touch to your bread. These bread making tools not only influence the final shape but also elevate the visual appeal of your loaves, making them more enticing.
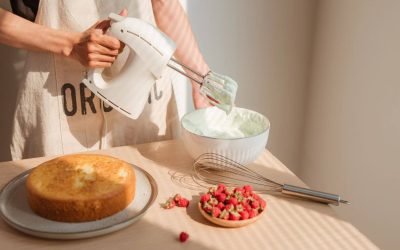
The Role of Mixing Bowls and Spatulas
When it comes to mixing and kneading the dough, having the right tools is essential. Mixing bowls should be large enough to accommodate the dough during rising and provide ample space for stirring. Look for bowls made of stainless steel or glass, as they are easy to clean and non-reactive. Spatulas, both silicone and metal, are handy for scraping down the sides of the bowl and ensuring thorough mixing of ingredients.
But did you know that the temperature of your mixing bowl can affect the dough? Preheating your mixing bowl can help maintain the ideal temperature for yeast activation and dough development. Simply place the bowl in a warm oven for a few minutes before mixing your ingredients. This small step can make a significant difference in the rise and texture of your bread.
Moreover, let’s not forget the joy of using a dough scraper. This simple tool is perfect for cutting and dividing dough, as well as cleaning your work surface. Its versatility extends beyond bread making, as it can also be used for shaping pastries and cleaning up sticky messes. So, make sure to have a trusty dough scraper by your side for a seamless bread-making experience.
Advanced Bread Making Tools
In addition to the essential tools, there are a few advanced tools that can elevate your bread making game.
The Benefits of a Dough Scraper
A dough scraper is a versatile tool that helps with dough handling and shaping. It allows you to easily scrape sticky dough from surfaces, divide dough into portions, and shape it into loaves or rolls. A dough scraper is especially useful when working with wet or high-hydration dough, as it prevents sticking and ensures even distribution of ingredients.
Why You Need a Bread Lame
A bread lame is are essential bread making tools used to make shallow cuts on the surface of the dough just before baking. These cuts, known as scoring or slashing, help control the dough’s expansion during baking and create an attractive pattern on the crust. As one of the most precise bread making tools, the sharp, angled blade attached to a handle ensures you can make clean cuts without deflating the dough.
The Use of a Proofing Basket
A proofing basket, also known as a banneton or brotform, is used for the final rise of the dough. These baskets are usually made from natural materials like cane or wood, which provide optimal moisture absorption and airflow. The basket’s coiled or woven structure creates a beautiful pattern on the bread’s crust while allowing it to maintain its shape during rising.
Maintaining Your Bread Making Tools
Proper maintenance and care ensure the longevity of your bread making tools.
Cleaning and Storing Your Tools
After each use, clean your tools thoroughly using warm soapy water and a sponge or brush. Make sure to remove any dough or residue that may have stuck to the tools during the bread making process. Dry the tools completely before storing them to prevent rust. Store your tools in a dry and clean space to maintain their quality.
When to Replace Your Tools
Over time, bread making tools may wear out or lose their effectiveness. When your bread maker starts malfunctioning or your baking pans become warped, it’s time to consider replacing them. Keep an eye on the condition of your tools and replace them as needed to ensure consistent results.
Maximizing the Use of Your Bread Making Tools
Now that you have the essential and advanced tools for bread making, let’s explore some tips for maximizing their use.
Tips for Perfect Loaves Every Time
Measure ingredients accurately. As bread making involves precise ratios, using a kitchen scale to measure ingredients will yield the best results. Additionally, ensure your yeast is fresh and active by proofing it in warm water before use. Properly knead the dough to develop gluten, which enhances the bread’s structure and texture. Lastly, be patient during the rising and baking process, as rushing can lead to underdeveloped flavours and textures.
Troubleshooting Common Bread Making Problems
Even with the right tools, bread making can sometimes present challenges. If your bread ends up dense or flat, it may be due to improper yeast activation or insufficient gluten development. Adjusting the hydration level, kneading technique, or proofing time can help resolve these issues. Similarly, if your bread develops a tough crust or excessive browning, modifying oven temperature or using different baking pans can make a difference.
With the right bread making tools and a little practice, you can consistently create delicious loaves of bread in the comfort of your own home. Experiment with different recipes and techniques to further enhance your bread making skills.
Now that you’ve discovered the best bread making tools, why not take your skills to the next level? Visit bbb.aykay.co for more bread making tools, tips and tricks and start creating delicious loaves today! Don’t miss out!

About the Author
Kaylene Grieve, a passionate baker and culinary educator, carries on a rich family legacy in the world of pastries and confections that began with her grandfather’s successful bakery. With over two decades of experience in business and marketing, Kaylene combines her baking heritage with digital expertise as the founder of Bake Batter & Beyond. This comprehensive baking resource reflects her mission to make the joy and science of baking accessible to all.
Dedicated to empowering both novice and experienced bakers, Kaylene’s website offers practical knowledge and tools including measurement converters, substitution guides, troubleshooting tips, and baking rescue techniques. Her special focus on the intricate world of cake making, coupled with her unique blend of family tradition and modern savvy, has established Kaylene as a trusted voice in the baking community.
0 Comments